mikett
Knows what a fatty is.
- Joined
- Jan 23, 2017
- Location
- Tappahan...
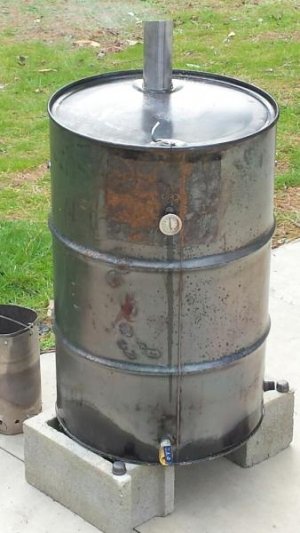
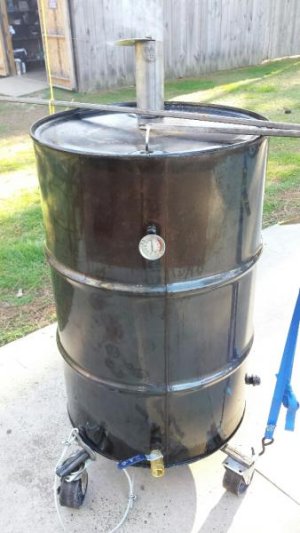
New guy joining the party here. Got 2 drums today that had ethylene glycol (antifreeze) in them. Inside looks like clean steel so plan is to clean with Dawn a few times then burn the snot out of them. Will this work??
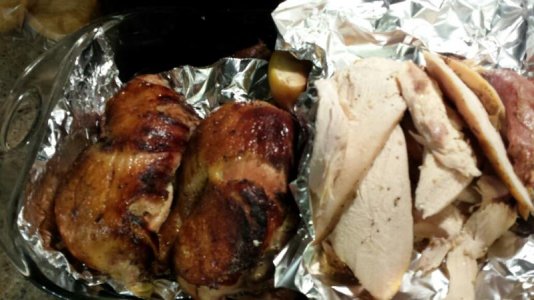
She won't be pretty but I will post pics when done and maybe a few along the way.
She won't be pretty but I will post pics when done and maybe a few along the way.
Last edited: