Hillbilly BBQ
is one Smokin' Farker
We have been busy testing, cooking and getting things setup to cater for small events and private parties....but now its time for another build.
This one is called the "Bumpkin"
bump·kin
ˈbəm(p)kən/
nouninformal
noun: bumpkin; plural noun: bumpkins
an unsophisticated or socially awkward person from the countryside.
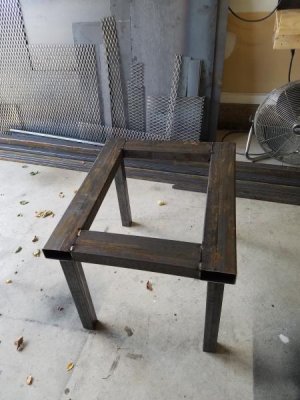
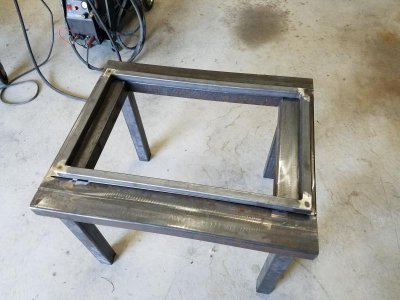
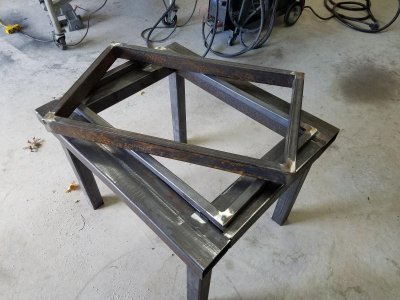
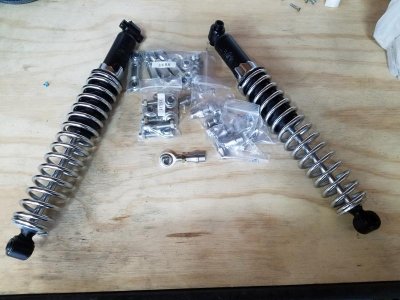
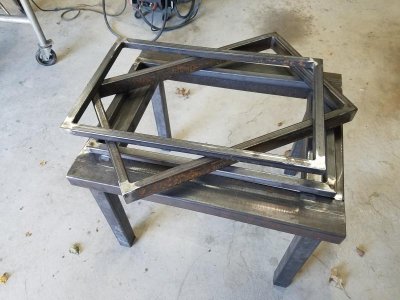
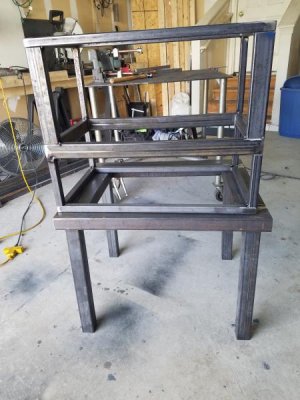
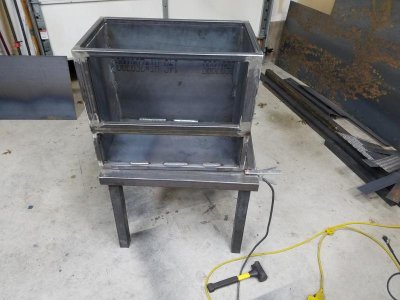
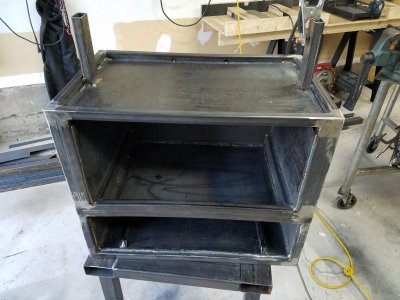
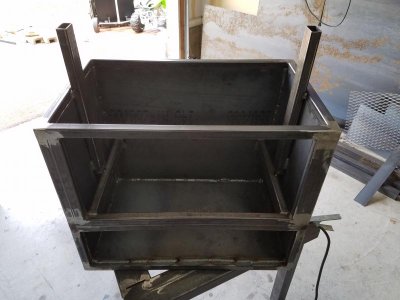
The 1" insulated smoker will be 22" tall, 27" wide and 18" deep. We will be building this one on an "Off-Road Cart". It will house 2 racks 23 x 16, so that a hotel pan can comfortably fit on each rack sideways. A charcoal basket, ash pan, Tel-Tru Thermometer, ball valve control and slam latches will round this out. The offroad cart will have 10" tall pneumatic offroad tires, coilover shocks, 4 link suspension and a steering axle.
Plan is to be be able to unbolt the cart and place on a hitch tailgating mount")
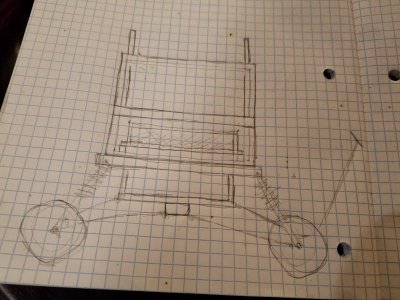
Here is the sketch, as always I will post up pics as the project goes along
Completed Thread:
http://www.bbq-brethren.com/forum/showthread.php?p=3687028#post3687028
This one is called the "Bumpkin"
bump·kin
ˈbəm(p)kən/
nouninformal
noun: bumpkin; plural noun: bumpkins
an unsophisticated or socially awkward person from the countryside.
The 1" insulated smoker will be 22" tall, 27" wide and 18" deep. We will be building this one on an "Off-Road Cart". It will house 2 racks 23 x 16, so that a hotel pan can comfortably fit on each rack sideways. A charcoal basket, ash pan, Tel-Tru Thermometer, ball valve control and slam latches will round this out. The offroad cart will have 10" tall pneumatic offroad tires, coilover shocks, 4 link suspension and a steering axle.
Plan is to be be able to unbolt the cart and place on a hitch tailgating mount
Here is the sketch, as always I will post up pics as the project goes along
Completed Thread:
http://www.bbq-brethren.com/forum/showthread.php?p=3687028#post3687028
Attachments
Last edited: