The biggest problem many have with hot and fast brisket is the bark. The bark on a typical hot and fast brisket just doesn't measure up to the bark of a brisket that has been cooked for 12 to 14 hours at a lower temperature. So, this recipe is my attempt to rectify that situation.
First, the basics: A good bark is the result of several things going on during the cooking process but one of the most important things is the Maillard reaction. This is where the natural sugars and proteins in the meat begin to brown while cooking. There are several main things that influence this reaction: sugar, protein, heat, and the PH level of the surface of the meat are a few.
Start with a large full packer brisket. I don't usually cook full packer briskets smaller than 12 pounds. Trim it up and remove the excess fat from between the point and the flat. This is done to increase the amount of bark I would have on the burnt ends.
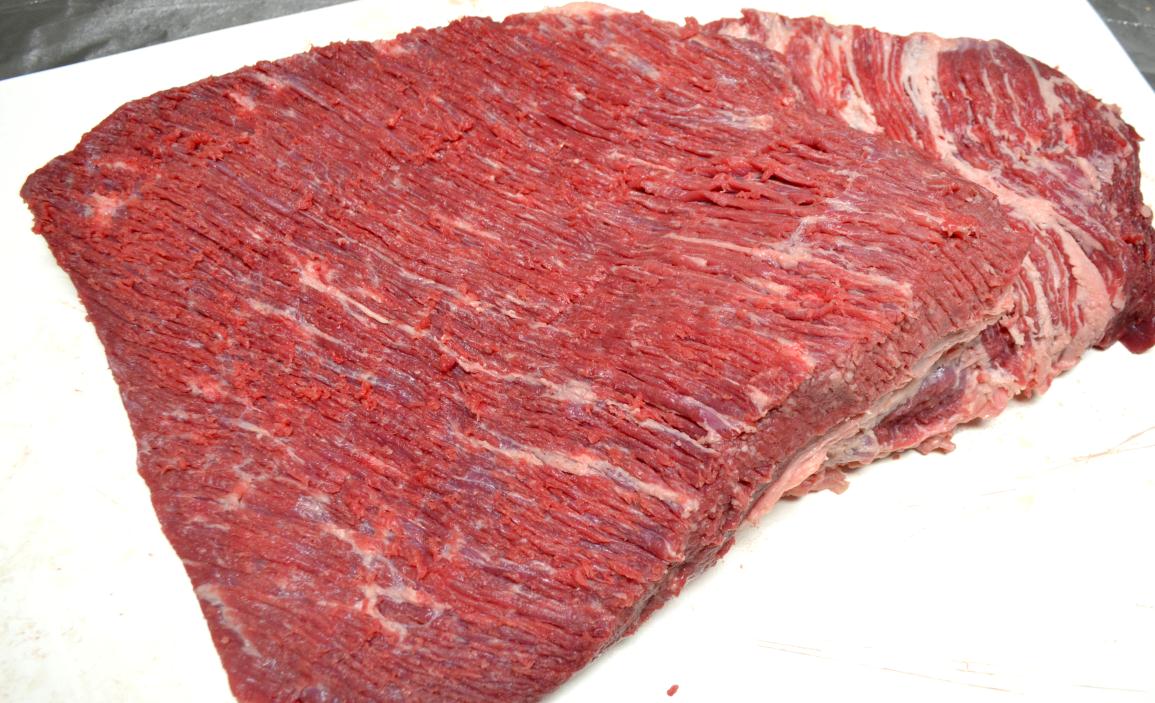
For this process to produce the best bark you need to remove all of the silver skin and as much of the fat possible from the top of the brisket flat. Then, using paper towels, dry the top surface of the brisket as much as possible.
Next, instead of keeping the surface of the meat flat and smooth, use a fork to cut some shallow "troughs" in the surface of the meat going in the same direction as the grain as shown in the pic. This is done in order to create more surface area for the bark to adhere to. And, as the great Adam Perry Lang taught us, more meat surface equals more Maillard reaction which means more flavor. This is also a practice from an old English method of broiling meat called carbonado.
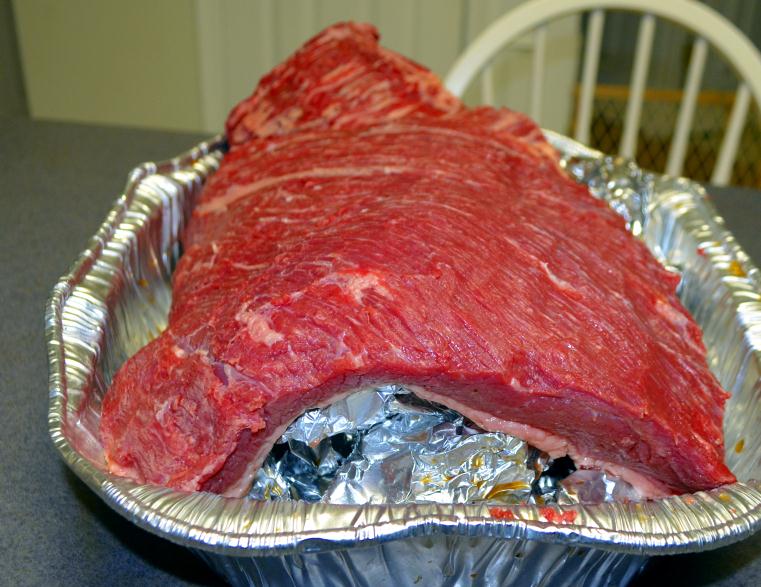
The next important part of the process is to use something under the brisket while it cooks that will create a curved or slanted surface. This is important so that juices from the meat don't pool in one spot. The juices pooling will wash the rub off and eliminate any chance of a good bark developing.
You can inject the brisket at this point in the process if you choose. Just make sure you let it sit overnight in the refrigerator to let the injection work its magic. After an overnight rest, again use paper towels to dry the surface of the brisket. The overnight rest isn't needed if you don't inject the brisket.
Now, let's deal with the PH level of the meat. Sprinkle the top surface of the brisket with about 3 half pinches (just as much as can be picked up with thumb and forefinger) of baking soda. Yes! That's right! Baking soda! Just a light sprinkle all over the top surface of the brisket is needed. Don't use too much.
After the light sprinkle of baking soda, apply a light coat of peanut oil all over the surface of the meat. The last step in this stage is to apply a light coat of molasses. I use the molasses as the base of the bark. It won't make the meat taste sweet. It just sits in the background and turns to caramel as the meat barbecues.
Now, apply the rub. You can use any rub you like. One of my favorites is my Blackhawk rub and is made from the following:
4 TBS Sea Salt
6 TBS Coarse Ground Black Pepper
3 TBS Fine Ground Black Pepper
1 TBS Fine Ground Cayenne Pepper
2 TBS Granulated Garlic
Apply the rub all over the surface of the meat. Touch it up, if needed, by sprinkling some fine ground black pepper over the brisket to cover any spots that need it.
While the prepped brisket rests, fire up your smoker to 325 degrees F. I use white oak chunks for smoke. Make sure your fire is burning very clean before adding the meat. The smoke coming from the chimney should almost be a clear vapor.
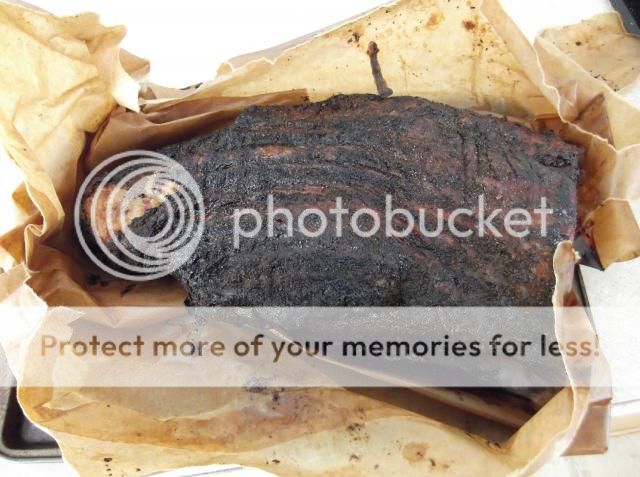
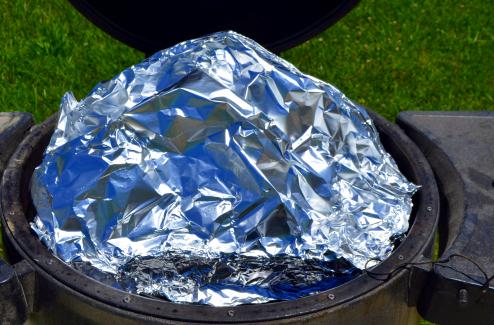
Put the brisket on the smoker and let it cook for 2 1/2 hours. After 2 1/2 hours, Wrap the brisket with foil but leave some space between the foil and the top of the brisket much like a foil tent.
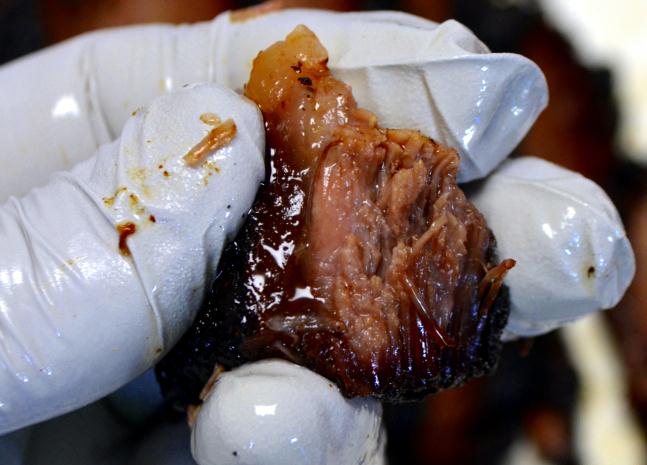
Let the brisket continue to cook for about 2 more hours until it probes tender like "butta." I'd say the internal temp will be about 208ish F. But, please don't go by temperature alone. Make sure that if you peirce the meat with your thermometer that it feels like you are putting the thermometer through butter. Once tender, remove the foil and let the brisket rest for 1 hour.
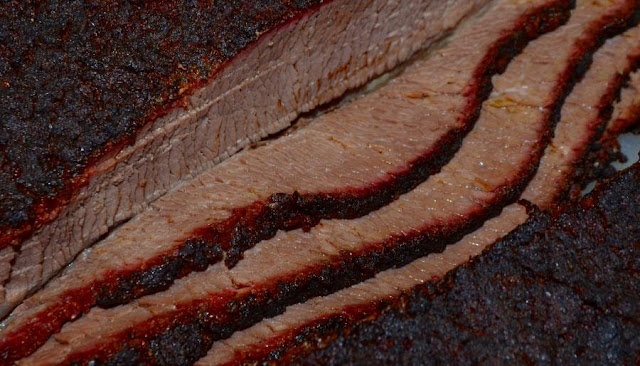
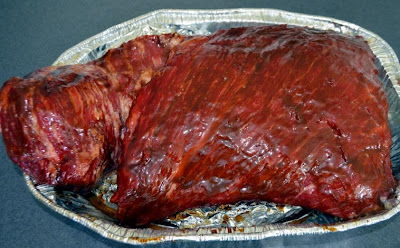
Here are some results.

Now, there are two main things going on here. The molasses is caramelizing while the surface of the meat is also caramelizing because it is experiencing the Maillard reaction. The baking soda raises the PH level of the surface of the meat. This is important because the higher PH level causes the Maillard reaction to occur quicker which means it will now occur longer than without using the baking soda. This produces a bark that is much closer to a long cook brisket bark than a typical hot and fast cooked brisket.