Santa Maria Build

...because we’re such a bunch of negative judgmental folks here lol

Looking great so far, subscribing for updates.
 
"no plan survives contact with the enemy"

It seems to be a very involved build - lots of "gotchas" possible in projects like that. Being able to adapt will get you across the goal line.

I'd say you are doing great- but would not wish to offend. :grin:
 
It looks good. I'm not sure how you're going to make a lid on a santa maria grill work, if you can find a pic on the interwebs of someone's who's done it before you can copy their design. A little helpful advice though, turn up the heat on your welder because that steel will see a lot of movement with heat cycling and if you dont have good fusion, it's gonna crack.
 
What he did to get teh lid to work was really interesting. I think I have it figure out and I'm going to work on it today and tomorrow and I'll post some pictures when I get it mocked up.

Thanks for the advice on the welds, I'll keep that in mind.
 
The local steel supply has stopped all access to their remainder and scrap racks. You place an order on the phone, show up in your car, wait in your car, and they come out and load it. You're not supposed to get out. So, I could not get the short piece of 2x3 box tube I needed for sliders over the 1.5x2.5 box tube I'm using for the uprights.

So, I did have some 2x5 box tube (from a bumper). So I cut it down and made my own 2x3 box tube. What else do I have to do since I can't go anywhere.
 

Attachments

  • IMG_4148.jpg
    IMG_4148.jpg
    82.6 KB · Views: 181
Here's an update.
I ended up driving onto the warped plate, it got it 'flat enough'. Jumping on it did not get the job done.

Here's a profess update. Wheel is kind of attached, the ratchet is not attached. But, I'm getting close.
 

Attachments

  • IMG_4163.jpg
    IMG_4163.jpg
    131.2 KB · Views: 150
  • IMG_4162.jpg
    IMG_4162.jpg
    111.7 KB · Views: 147
  • IMG_4160.jpg
    IMG_4160.jpg
    151.3 KB · Views: 150
  • IMG_4159.jpg
    IMG_4159.jpg
    130 KB · Views: 148
  • IMG_4158.jpg
    IMG_4158.jpg
    147.7 KB · Views: 150
Okay, more pictures for anyone looking for details in the future.

I could not find the grilling surface I wanted. Well, I did (heavy gauge woven stainless steel), but it was too expensive. So, I bought some expanded lath - the standard 3/4 9 gauge - but I can't stand it. When it gets hot, it warps. So, I went with a lighter version of woven metal and we'll see how it goes.

I also put together a temporary version of the grill lifting mechanism that allows the lid to close. When it's done, it will be a threaded offset that the grill bolts to so the grill will be removable. The lip helps the lid seal. You can see the notch in the lip for the lifting mechanism and there will be a matching notch in the lid. The lifting mechanism is on the outside of the uprights to keep it out of the way of the lid.
 

Attachments

  • IMG_4180.jpg
    IMG_4180.jpg
    102.5 KB · Views: 126
  • IMG_4182.jpg
    IMG_4182.jpg
    89.2 KB · Views: 127
  • IMG_4181.jpg
    IMG_4181.jpg
    129 KB · Views: 128
  • IMG_4179.jpg
    IMG_4179.jpg
    148 KB · Views: 127
  • IMG_4184.jpg
    IMG_4184.jpg
    137.7 KB · Views: 125
I can assure you that at this time last year I had no skills at all. In fact, I took this on as a way of acquiring the skills - after having built a welding cart and welding table. All this on the way to be able to weld with some confidence on my old cars/4x4s.
 
Okay more pictures, it's nearly done. This is mostly pictures of the lift mechanism and the notch in the top that allows the lid to close.
 

Attachments

  • IMG_4188.jpg
    IMG_4188.jpg
    88.1 KB · Views: 118
  • IMG_4189.jpg
    IMG_4189.jpg
    98.7 KB · Views: 119
  • IMG_4196.jpg
    IMG_4196.jpg
    75.4 KB · Views: 116
  • IMG_4197.jpg
    IMG_4197.jpg
    96.3 KB · Views: 116
  • IMG_4177.jpg
    IMG_4177.jpg
    148.3 KB · Views: 118
The folks on this form were right, 10 gauge (about an 1/8") was too thin for the firebox sides. We cooked a tri-tip on it last night to test it out and the front warped out, which wasn't a big deal, except the lid wouldn't close.

So, today, I added a shelf of some 3/8's I had lying around that I'm hoping willing stiffen the front up so the lid can close. If not, I'll figure something out. I like the shelf, I'm going to add a rod to it as a place to hang tongs and things.
 

Attachments

  • IMG_4199.jpg
    IMG_4199.jpg
    110.4 KB · Views: 118
  • IMG_4200.jpg
    IMG_4200.jpg
    127.7 KB · Views: 118
I have a judgment....you're making me look lazy!

Enjoying your build. That's going to be a great cooker.
 
So, what should be the first thing I try in the smoker - and any input on how to run this smoker?
 
Fire It Up!

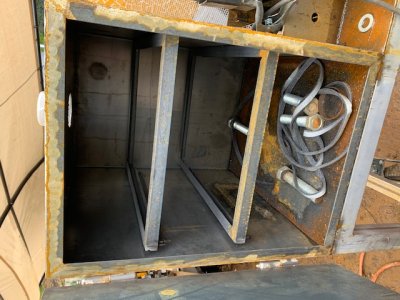
I would start with everything wide open, build a coal bed in the firebox side closest to the cook chamber with lump charcoal and a few splits.
Once that's established and running thin blue smoke, close the cook chamber door and the firebox lid.
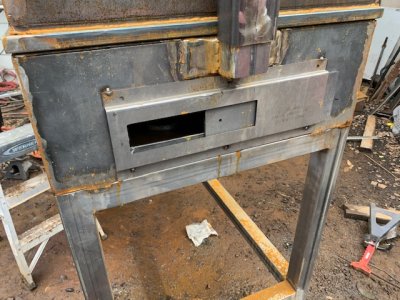
Once it's drafting well, what's the cook chamber temp settle at? Over 300*F is a good thing. I would close in this order, fire box intake, damper between FB and CC, CC exhaust to achieve your desired CC temp.
If closing the FB lid chokes the fire, prop it open a little for now and plan to add more intake.
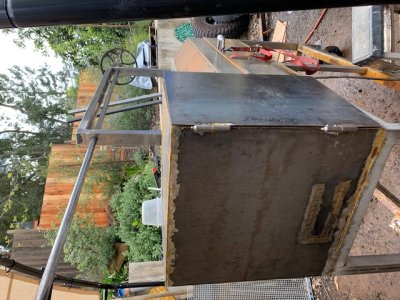
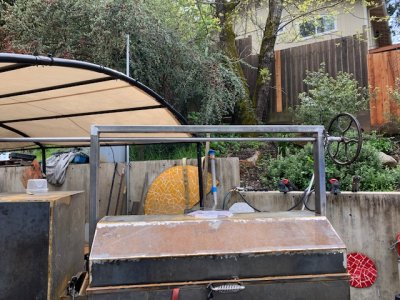
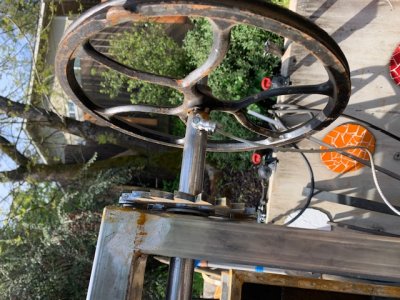
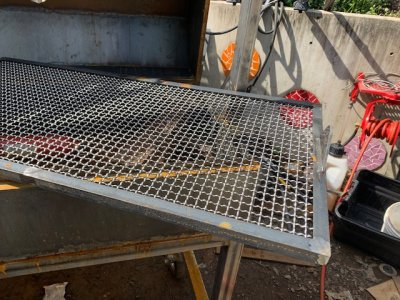
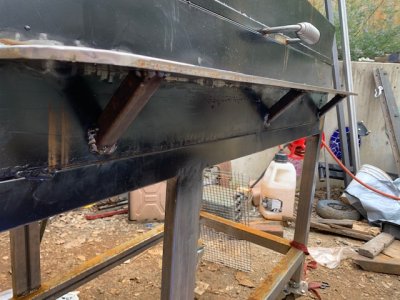
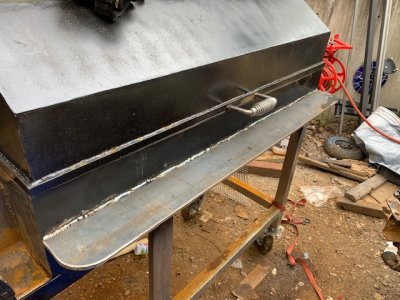
It's a great looking build, kudos to you :clap2:
 
Thanks everyone for the information. FrkYrPrk - that's exactly what I was looking for.

What biscuits are those?

And, the Fatty history was truly inspiring. That would give me gastric distress for a month, but my 17 year old son would eat that thing with two eggs in a heartbeat.
 
If you haven't bought seasoning oil, some folks swear by spray cooking oil, I use Snow Cap Lard, pick up a couple tubes of biscuits in the refrigerator section of your market - I like Pillsbury Grands, a generic will do for the test.

I'm really interested in how well this cooker smokes - I have some concern the heat in the firebox stays in the firebox, due to volume. You may need to make an insert to efficiently run the smoker...
 
Back
Top