Holyp
Well-known member
Hi everyone, Amir from Israel here. I've been lurking on the sidelines for a while, absorbing knowledge, and enjoying our shared passion for food.
I've been smoking meat for the last year and a half, which makes me a novice, but I've been rather obsessive about it, read an enormous amount of information, web, utube, books (loved the Franklin book)
I've gone through a long cycle of deciding what my next smoker is going to be.
Even had some correspondence with Tyler from SF (which I may still follow up on one day)
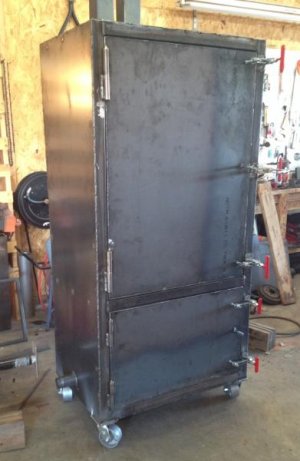
Ended up going for a stumps clone, double pan insulated cabinet gravity feed.
In the end it was the ability to run it unattended that sold me. I enjoy attending the fire, and tweaking the vents or lighting lump or throwing a split but it's a big commitment and a toll on the family so here I am starting something that is meant to be a near fire and forget.
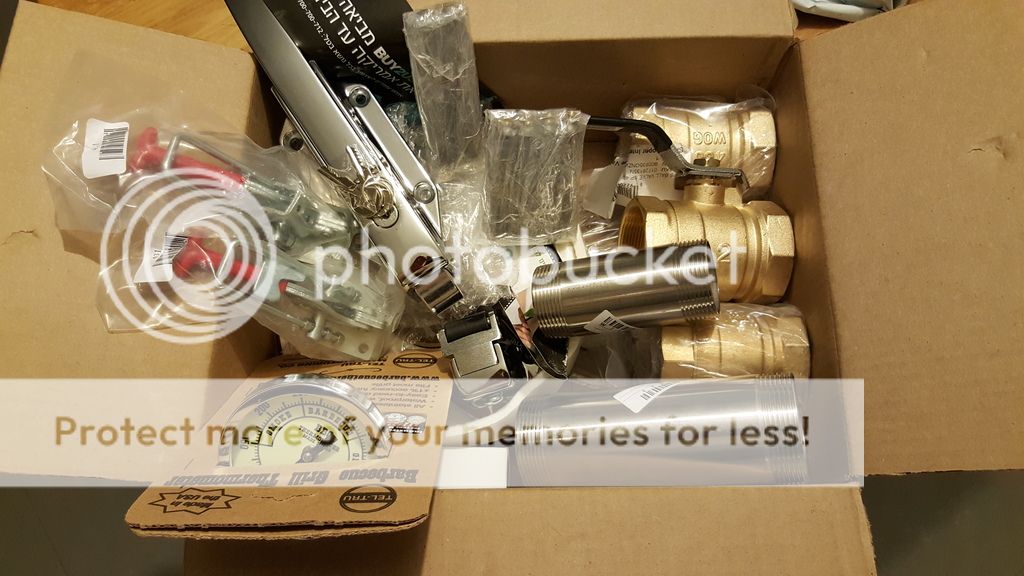
Bought the plans at smoker plans.net, made some orders at various places, and got my box of goodies recently
I posted a request for help in converting the plans to metric in my 4×4 forum and someone made me a good offer to do all the fab work.
I'm finally getting progress pictures and thought I'd share.
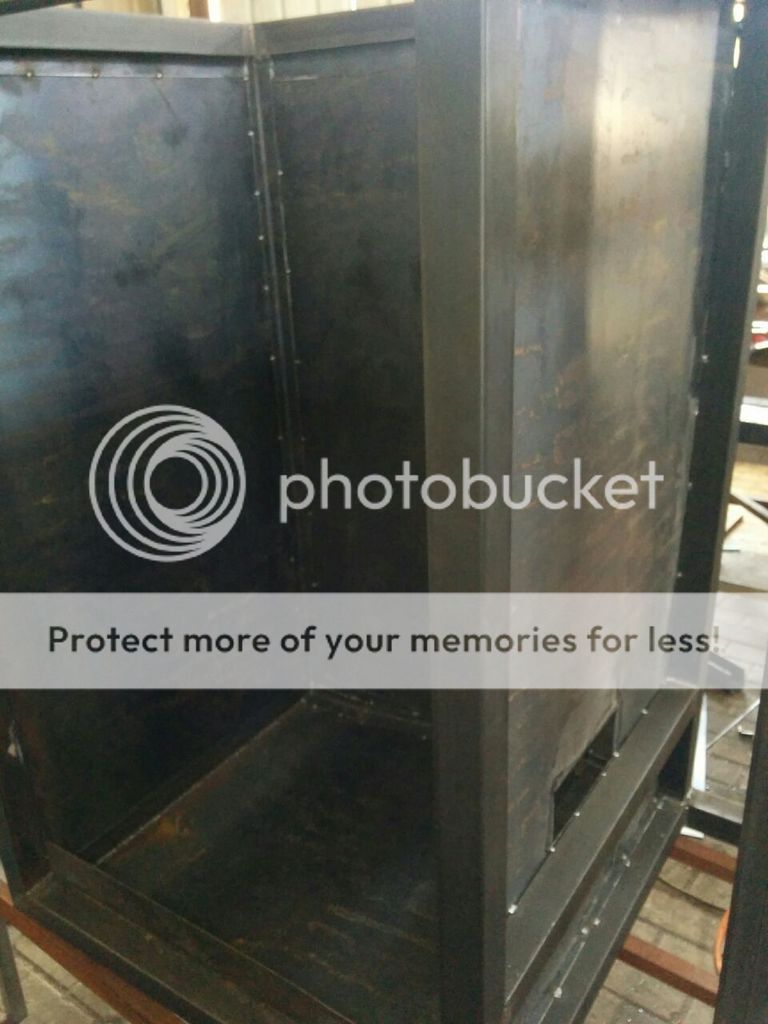
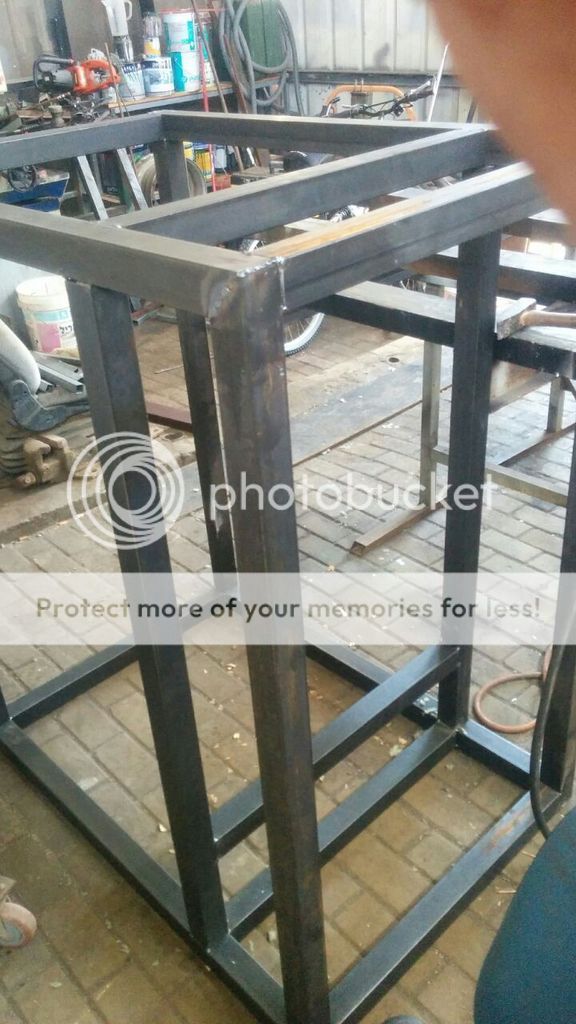
The entire frame is insulated with rock wool, for all the other insulation, I got ceramic blankets rated at ridiculous temperatures I hope to never reach
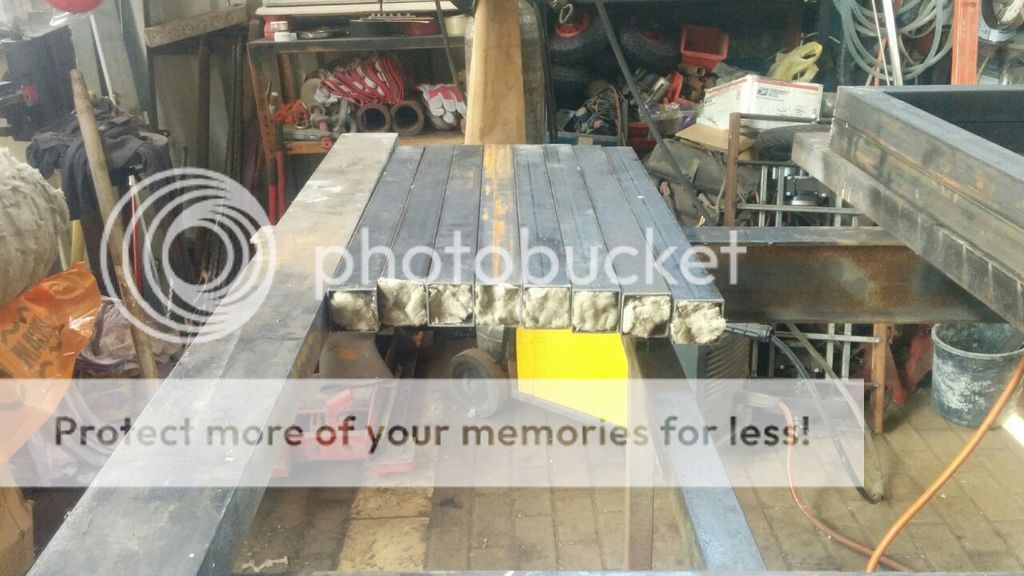
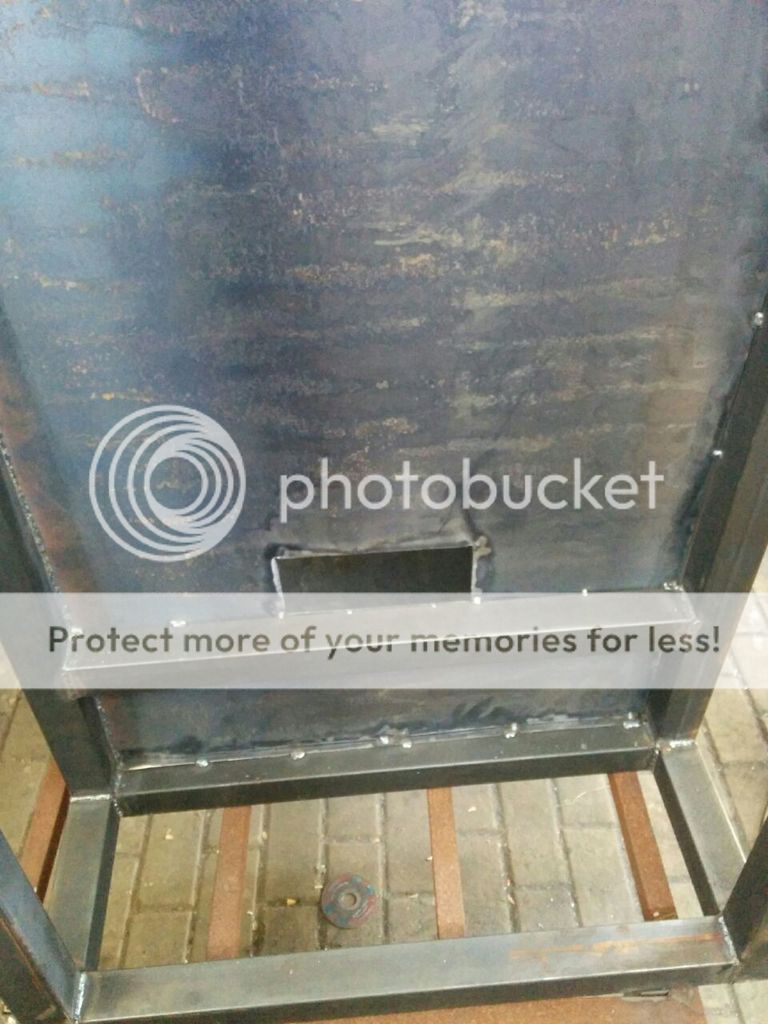
Frame is nearly done, tomorrow he's starting the coal chute and fire chamber
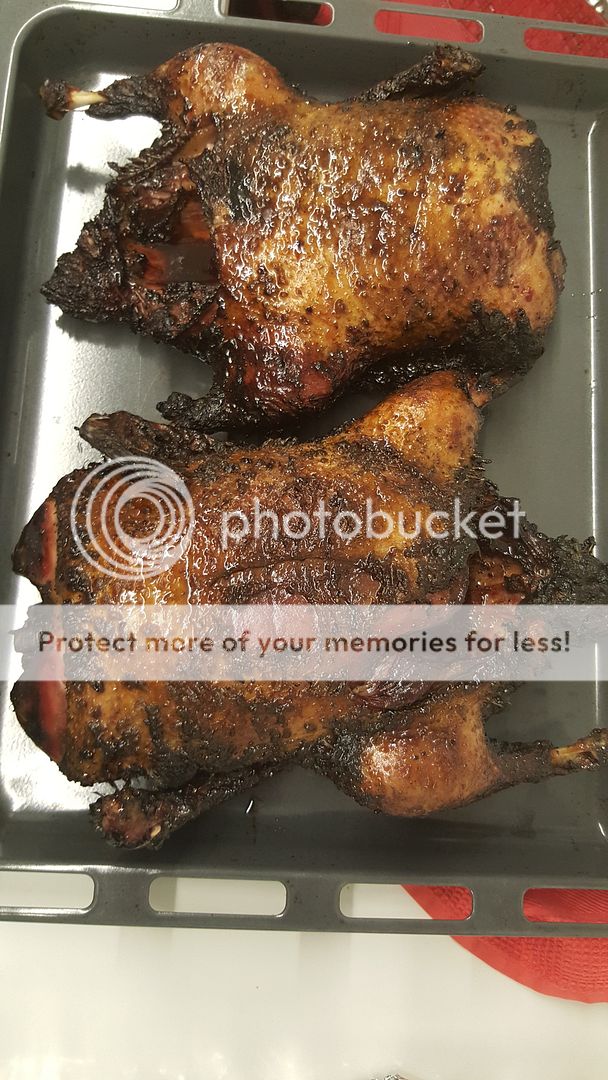
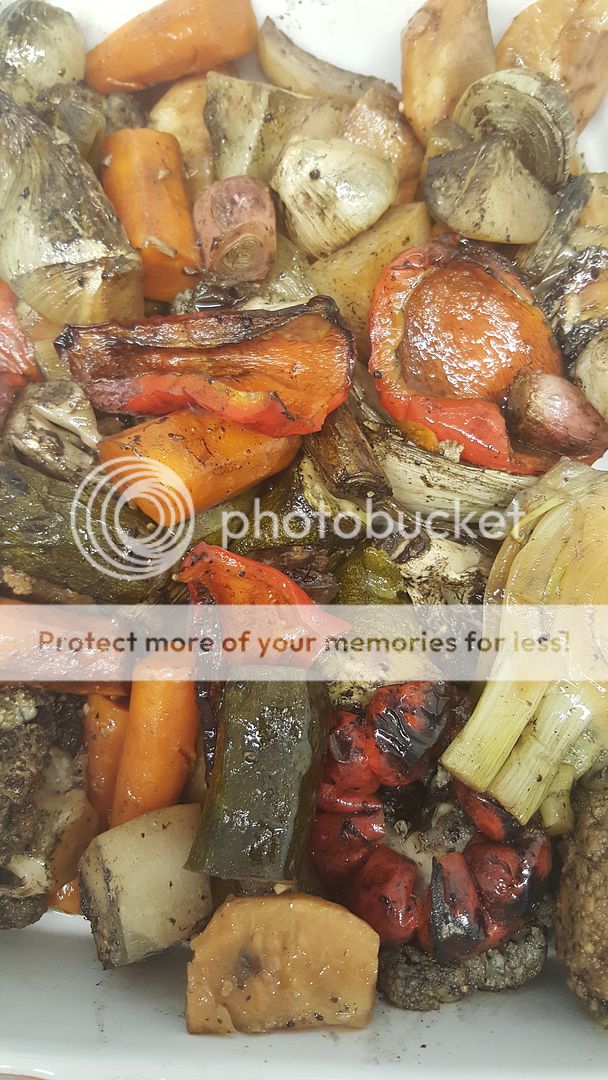
And I feel I must end my first post with a couple of shots of my current smoker in action


Feel free to make comments and suggestions.
I've been smoking meat for the last year and a half, which makes me a novice, but I've been rather obsessive about it, read an enormous amount of information, web, utube, books (loved the Franklin book)
I've gone through a long cycle of deciding what my next smoker is going to be.
Even had some correspondence with Tyler from SF (which I may still follow up on one day)
Ended up going for a stumps clone, double pan insulated cabinet gravity feed.
In the end it was the ability to run it unattended that sold me. I enjoy attending the fire, and tweaking the vents or lighting lump or throwing a split but it's a big commitment and a toll on the family so here I am starting something that is meant to be a near fire and forget.
Bought the plans at smoker plans.net, made some orders at various places, and got my box of goodies recently

I posted a request for help in converting the plans to metric in my 4×4 forum and someone made me a good offer to do all the fab work.
I'm finally getting progress pictures and thought I'd share.
The entire frame is insulated with rock wool, for all the other insulation, I got ceramic blankets rated at ridiculous temperatures I hope to never reach

Frame is nearly done, tomorrow he's starting the coal chute and fire chamber

And I feel I must end my first post with a couple of shots of my current smoker in action


Feel free to make comments and suggestions.