Falsepaul
Well-known member
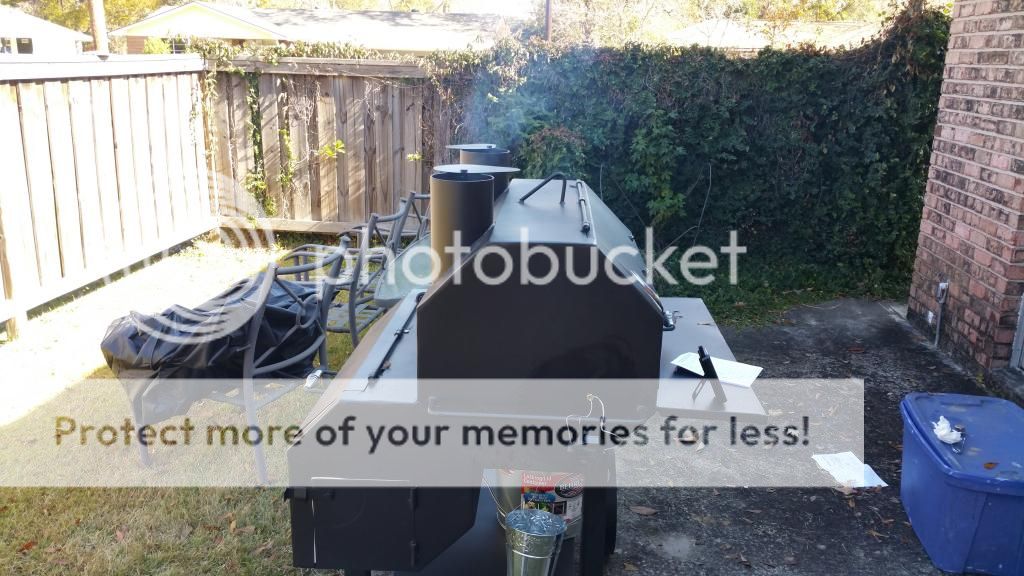
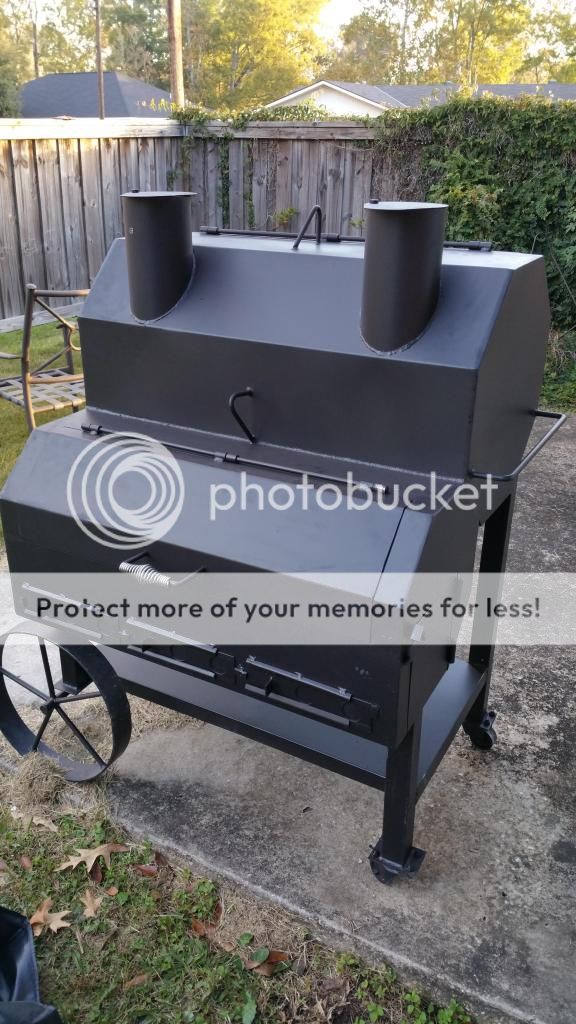
A few weeks ago I purchased my first stick burner. The unique and mysterious Old Country Over N Under from Academy. I say mysterious because I found absolutely ZERO information on the specifics with exception of one thread here on the Brethren and even on that thread there was a deal of guessing. So before I get to the cook here is everything relevant that I was about to measure on the pit.
If i missed something just ask. On to the cook.

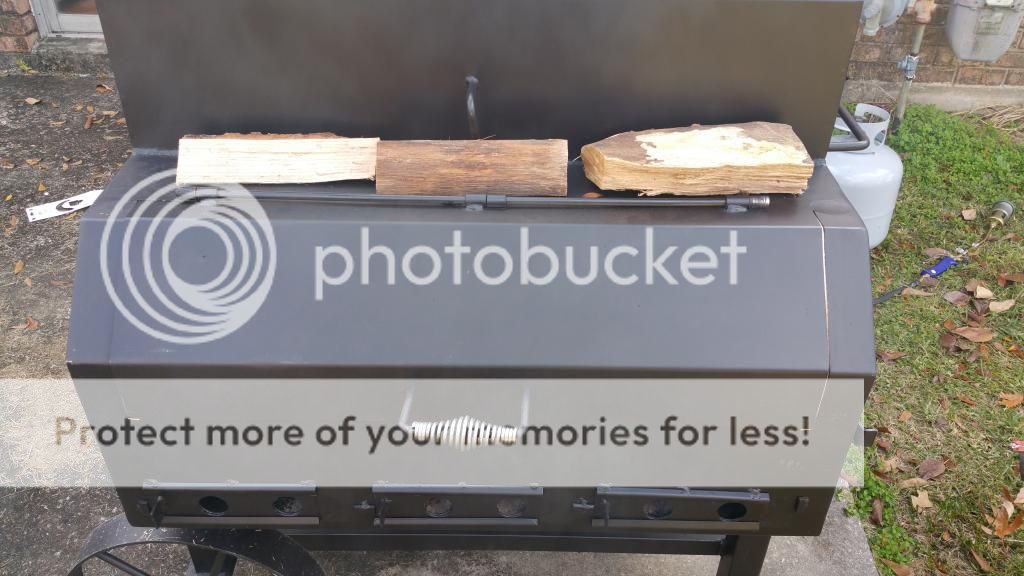
The most fun I had was lighting the whole thing with the torch!
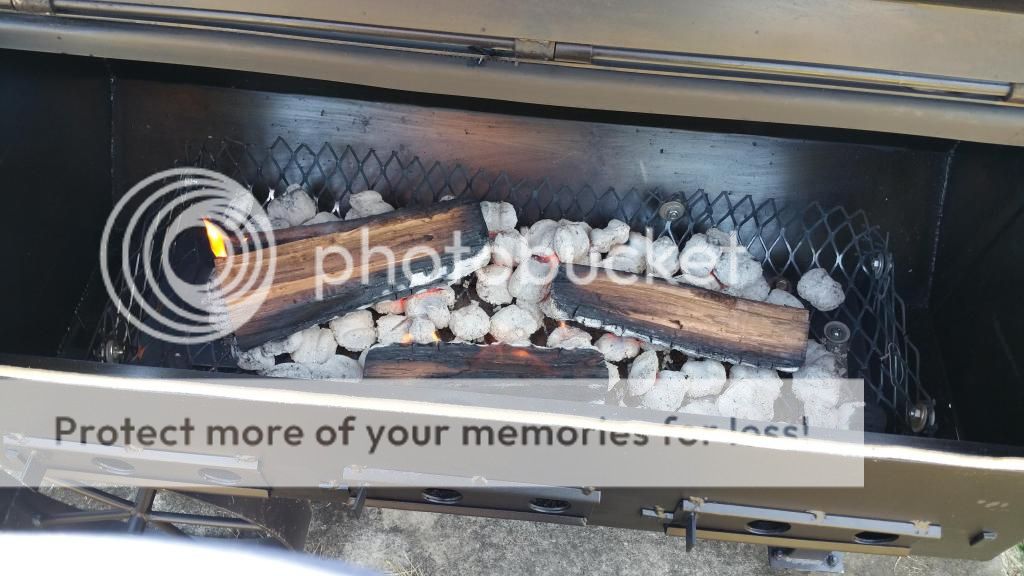
I only used 3 logs to start and after and hour and 10 minutes added an other 3. This kept my temps in the 280 to 290 range. Most importantly this pit advertises no hot spots. The Maverick agreed.
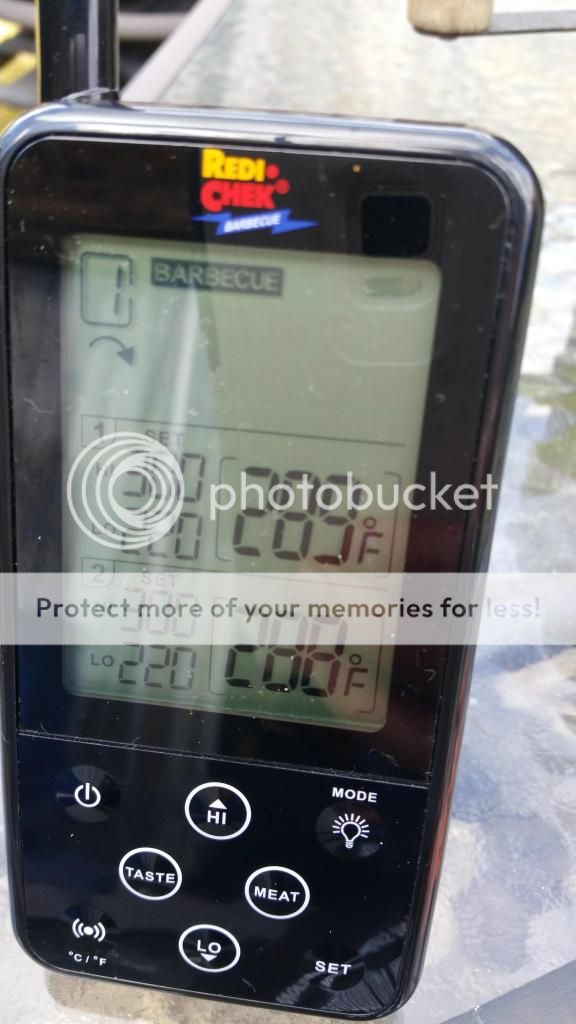
I began using 2 logs after the that and temps stayed in the 230 to 250 range for about 50 to 60 minutes before 2 more logs were needed
Interesting side note. I can set my my next few logs on the fire box to warm and I am still able to open the fire box because they sit behind the hinge.
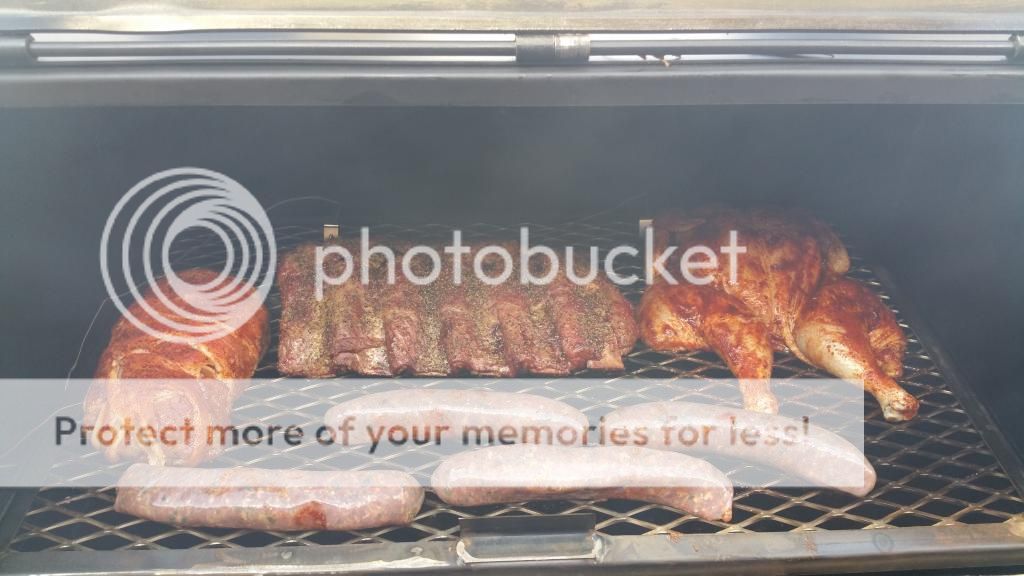
I cooked a rack of beef ribs, a chicken that I brined the night before, some homemade deer sausage, and since I knew I would such distinguished company would see this cook, a fatty.

Deer sausage came off first, is was juicy and hadn't done that exploding thing that fresh sausage likes to do.
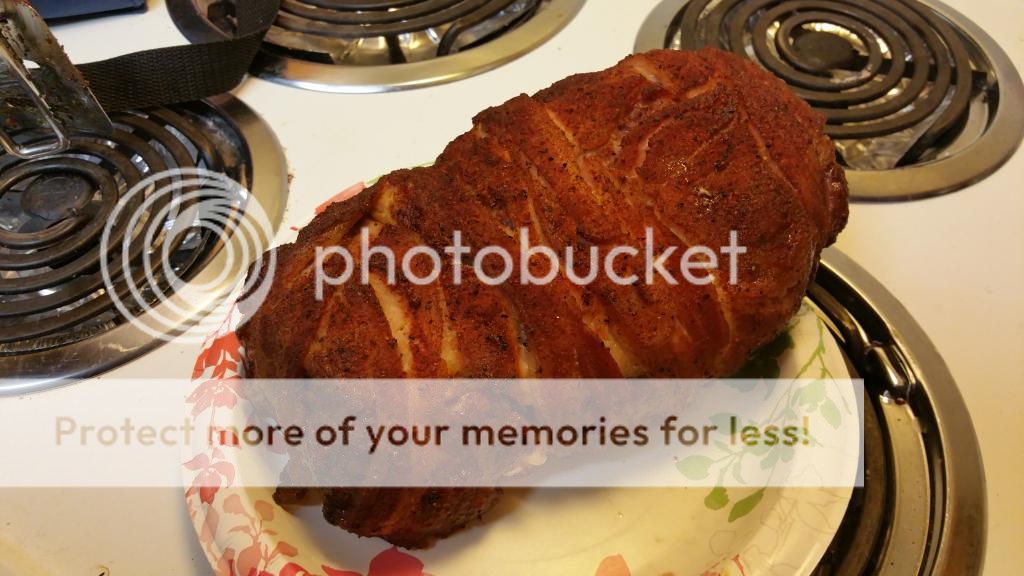
Next came the fatty.
 [/URL]
It was really juicy and cooked well but I chose the wrong rub to put on it (my beloved Plowboys). It was just a bit too salty. Next time it will be something sweeter, since the sausage I used was already salty.
 [/URL]
Then came the chicken. My chicken brine has remained the same for years. 1/3 cup Salt, 1 cup sugar, per gallon of water. Everything else is gravy. This time I also added coriander, onion, and Garlic Chili paste.
It came out juicy and had a great color that seems to be a bit lost in the pic I took. Skin was rubbery but I wasn't expecting anything else. I used Plowboys on the chicken and as usual tasted great.
Finally the ribs.
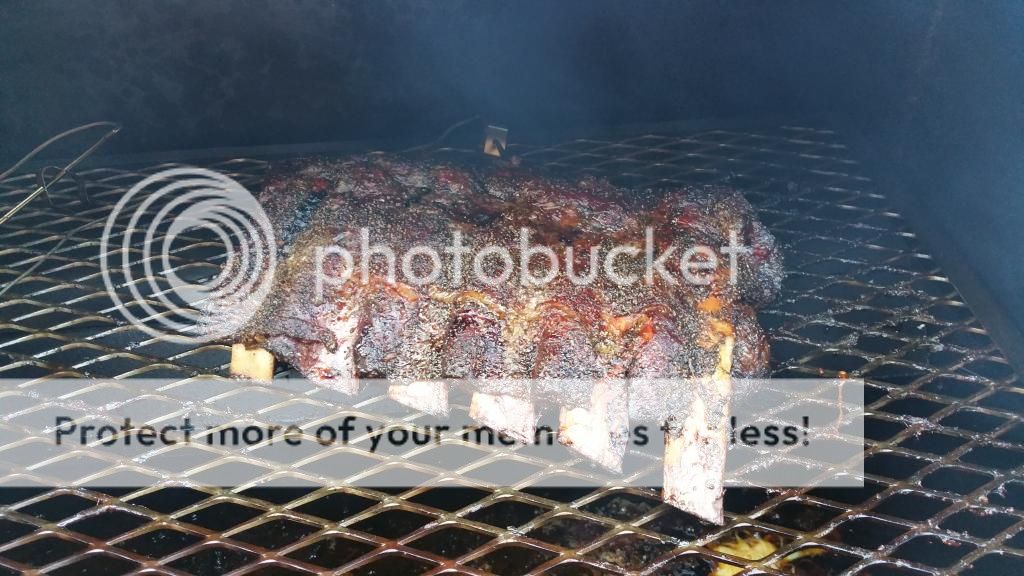
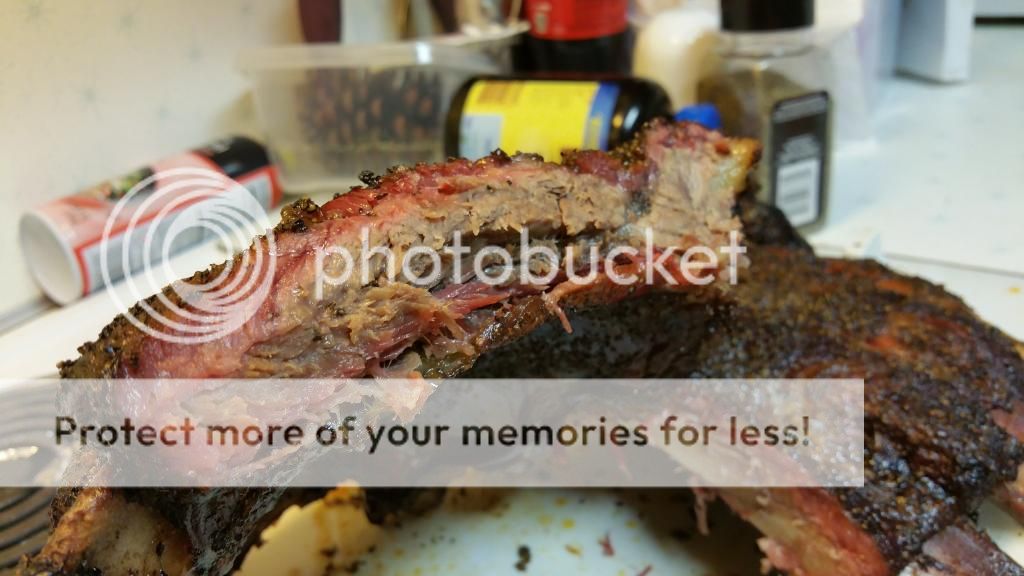
Ribs had only salt and coarse ground pepper and were definitely the best thing that that I cooked. They cooked right at 5 hours. Tender juicy but most importantly, not mushy.
Overall I love the new pit. Its going to take a deal of use to get the temperature completely under control, so no brisket anytime soon. That said, almost all of the issues I had were user error.
Thank you for taking the time to check out my first cook.


- 1/8 inch steel all over. No extra material on the door like the Wrangler
- Sliding Cooking tray is 19.75 x 30.25
- The Cooking Chamber is 20 X 36. There is a 3 inch gap on either side of the cooking tray. Handy for manuvering the Maverick Probes.
- The Fire box is 16 X 36
- There are 2 cooking grates for the fire box that add 15.75 x 30.25 of grilling area if you want to hunch down. I removed them
- The Charcoal Grate they give you has no sides. Its 11 X 28. I removed it and my dad made one 28 X 11 out of expanded steel with a 2 in lip. Worked great.
If i missed something just ask. On to the cook.

The most fun I had was lighting the whole thing with the torch!

I only used 3 logs to start and after and hour and 10 minutes added an other 3. This kept my temps in the 280 to 290 range. Most importantly this pit advertises no hot spots. The Maverick agreed.

I began using 2 logs after the that and temps stayed in the 230 to 250 range for about 50 to 60 minutes before 2 more logs were needed

Interesting side note. I can set my my next few logs on the fire box to warm and I am still able to open the fire box because they sit behind the hinge.

I cooked a rack of beef ribs, a chicken that I brined the night before, some homemade deer sausage, and since I knew I would such distinguished company would see this cook, a fatty.

Deer sausage came off first, is was juicy and hadn't done that exploding thing that fresh sausage likes to do.
Next came the fatty.

It was really juicy and cooked well but I chose the wrong rub to put on it (my beloved Plowboys). It was just a bit too salty. Next time it will be something sweeter, since the sausage I used was already salty.
Then came the chicken. My chicken brine has remained the same for years. 1/3 cup Salt, 1 cup sugar, per gallon of water. Everything else is gravy. This time I also added coriander, onion, and Garlic Chili paste.
It came out juicy and had a great color that seems to be a bit lost in the pic I took. Skin was rubbery but I wasn't expecting anything else. I used Plowboys on the chicken and as usual tasted great.
Finally the ribs.


Ribs had only salt and coarse ground pepper and were definitely the best thing that that I cooked. They cooked right at 5 hours. Tender juicy but most importantly, not mushy.
Overall I love the new pit. Its going to take a deal of use to get the temperature completely under control, so no brisket anytime soon. That said, almost all of the issues I had were user error.
Thank you for taking the time to check out my first cook.


