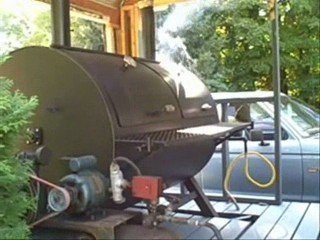
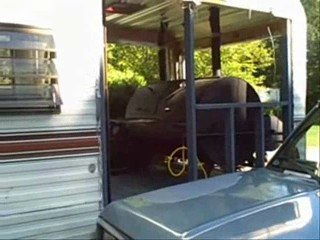
Pitmaster T Build Series - Funkotorium Project (Ongoing Thread in 9 Parts)

Part 9 Final Installment - LP Gas and Stack Hook -ups.

Part 9 - Gas Install and Pit Stack Adaptation


Again here is a segment I took little step by step pictures of because when I was originally filming it I never knew I would be abandoning the whole project and I guess I assumed that I would be take pictures later as I tweaked it.

I will list the LP demands here:


1. A future Central Heating system.

2. LP on demand Hot Water Heater for on Board Hot Water.
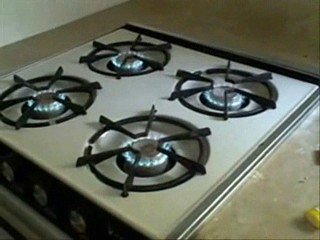
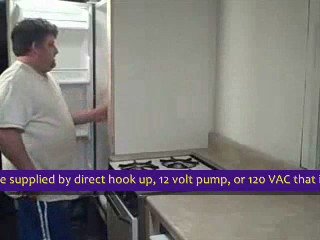
3. Stove and Oven inside the commissary hook up.
4. Re-Route Tanks from end of tongue to just front and outside of the new forward wall.
5. The Gas demands for the Pit including Gas assist and log lighter.

Regarding the first point the Camper already had a working central air system for heating that I removed when I gutted the Kitchen. The airflow for this was below the floor and part of it had to be capped off when I cut the floor off the front of the camper for the Smokedeck. This would theoretically make the apparatus more efficient as it would have less area to heat.


On a cold night if I was anywhere I did not want to be tempted to turn on a gas flame on the stove. This is dangerous and has led to Carbon Monoxide poisoning deaths. 93 % of us will die at some point in our lives and at some point pre-mature death like this would lead me to burn something and disappoint customers.


The unit could fit nicely under the hand-washing sink where I slid my Cambro.


Like I mentioned before, the hot water demands were more or less temporary when I got the LP unit and I debated where I wanted it. There was plenty of space under the three bay sinks and I could even vent it because there was a gap of about 6 inches on the left side of the sinks. I never routed the gas there and instead kept the unit temporarily outside above the tanks. This would have to be moved as it was a real freeze risk.


My plans also for the future was to utilize a broken water heater I had found from a RV Camper (one that was powered by engine). The elements were toast on this but many boats and RVs that have an engine on-board use a special water heater that has a heat exchanger inside that can be routed to the engine and use engine heat to heat water. Now think about it... typically, what do I have burning the entire time I am doing a job? Yep, you guessed it, the pit. So the plan was to have the pit also supply heating of the water. This would lower LP fuel consumption.


Pitmaster T Build Series - Funkotorium Project Part 9_0002.jpgPitmaster T Build Series - Funkotorium Project Part 8_0004.jpg
The stove was moved maybe 3 feet so it was a minor move. The Tanks to required more or less a reduction in the length of the line because they were being moved rearward. I sandblasted and repainted the tank holder that you saw me move in Video 2 and placed it under the window outside the forward wall. I probably would design a nice wood cover for it with a seat cushion.


Pitmaster T Build Series - Funkotorium Project Part 9_0001.jpgPitmaster T Build Series - Funkotorium Project Part 9_0006.jpg

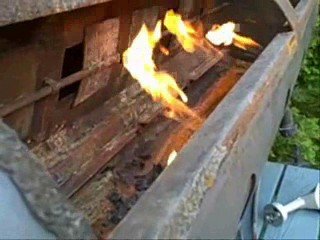
Originally I made a log lighter for the pit but rarely used it after I installed the Gas assist. Sure the Gas assist is on just one side but between starting up a pile of coals there (or even wood) and the air from the Stoker, I really had no problem with lighting a fire this way. It was safer than the log lighter too because it had some safety measure on it. Gas assist installation is more of a PIT mod and will be covered in my up-coming, multi-section thread on the building of the Meat Mama 3000.

Pitmaster T Build Series - Funkotorium Project Part 9_0003.jpgPitmaster T Build Series - Funkotorium Project Part 9_0004.jpg
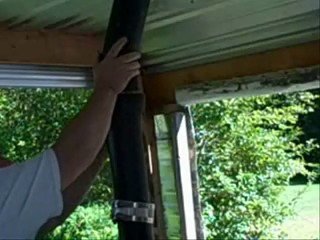
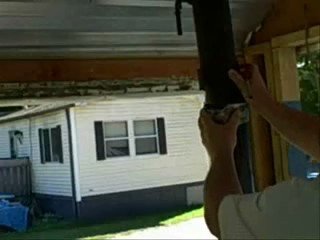
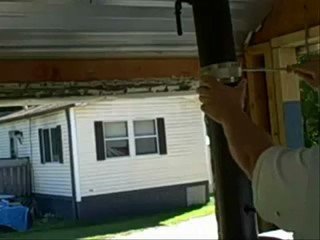
So how do you get the smoke from the pit to go through the top of the roof of the trailer YET still be removable. Well that requires a set of static exhaust pipes that can connect and disconnect with the pits you use. I had a buddy give me his 5" Dodge exhaust system and cut a set of pipes to go through the roof. I welded a steel fastening frame that, with insulators, could fasten to the existing wooden frame. In the smokedeck section of the trailer ALL insulation was removed and the ceiling was the same aluminum that covered the walls. Couplers were a simple accordion screw type I found at a second hand shop. You can see me here putting them on. I had a nice set of 5 foot CHROME extensions that came from a Mac Truck.... they were lovely. MY intentions were to make an apparatus on the roof where these stacks would swivel up and connect and also go back down easily. I got that idea from the old steamboats of the 1900s that had TALL stacks that pivoted down to go under low bridges. This is important in that the higher the stack, the less chance your smoke offends nearby vendors. I installed the once (just set them over the black stacks on top of the trailer) and they markedly improved draft.

Pitmaster T Build Series - Funkotorium Project Part 9_0005.jpgPitmaster T Build Series - Funkotorium Project Part 9_0007.jpg
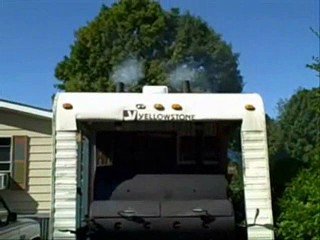
Clamping on the coupler. The gasket was a piece of high temp silicone "fabric" I cut. It made a beautiful seal. The Funkotorium on its first fire up trial... I took it to about 500 degrees for over 2 hours... No problems.

Pitmaster T Build Series - Funkotorium Project Part 9_0009.jpgPitmaster T Build Series - Funkotorium Project Part 9_0010.jpg
This shows a better view of those stacks hooked up. Plus you can see the metal roofing installed on the ceiling. That pop up vent did wonders for removing the smoke when you opened the pit.

 
austinfish 001 4.jpg

Found another picture of the gutting and wall process

THIS shows the construction of the front wall before I actually tore up the front for the smoker. It also shows the extent of the rot in the wall to the left. All the sheathing and insulation is down and out.
 
Super write up! Im new to smoking. Now I have enough ideas to be dangerous!
 
next time I'm down in the crystal mall area or salem prime cuts I'll have to do a drive buy and get an eyeball on it

I so wish there was someone who would pick this up for me... I know I could buy it from the guy who has this. Sigh. The other day I saw a camper EXACTLY like this for sale... someone was living out of it but it was in better shape than the Funk was.... sadly that was the problem with their price of 2000... they were desperate for that exact number and I was only going to gut all the nice features it had anyway.
 
did I mention his recipe sucks... it does... I would like to meet him one day at some event he is sponsoring and say hey... mike... here is the sauce I made from your recipe... lets trade it for your real sauce... I will take your sauce you made home....
 
I was just thinking how different my Funkotorium would have looked (and how much sooner it would have been ready) had I been building it when the Cabinet Craze hit.
 
i wish i hadda just repaired it and went camping sometimes. i have yet to ever find another camper like this, damaged, for $500. lol
 
Back
Top