
This may not have anything to do with bbq'ing or grilling outside, it's simply a mini-tutorial on candy making, namely caramels. I've been making these for a number of years, the recipe is in one of the Thermoworks blogs, borrowed I think from America's Test Kitchen. For those who are interested, read on. If you're looking for a post dealing with pork or bacon, sorry (hmm, that might be an interesting variation).
These are Salted Caramels. Time at the stove is less than one hour. Total time to make them is around three, adding in an hour to cool on the counter and another hour in the fridge. Add additional time to wrap.
Let's get started. The ingredients:
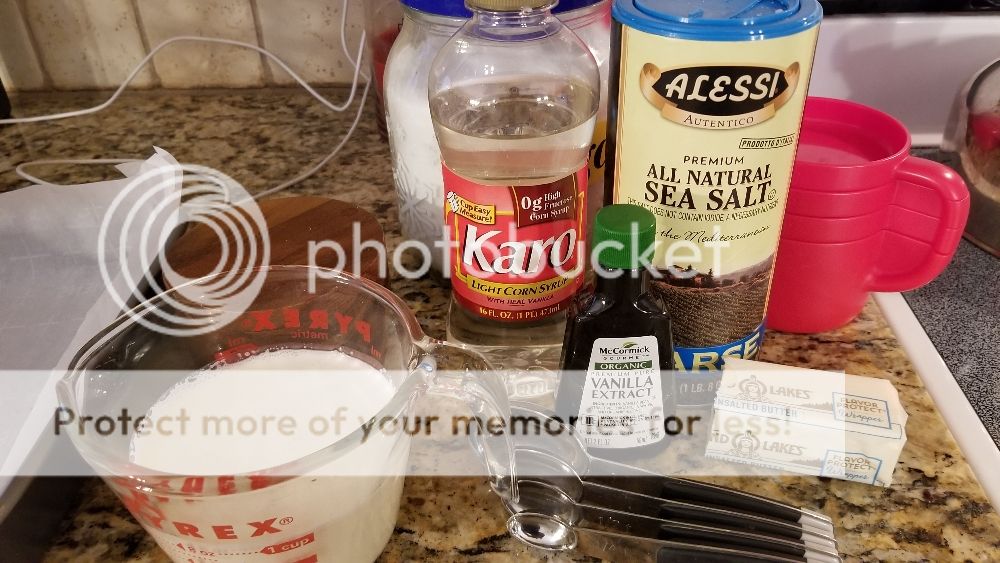
The heavy cream, vanilla extract, butter and salt are prepared in one pot, brought to a boil and then taken off the burner to meld together. In the past I've used real Vanilla Bean, splitting and scraping the seeds, but the cost has skyrocketed lately and the use of Vanilla Extract doesn't detract from the final product.

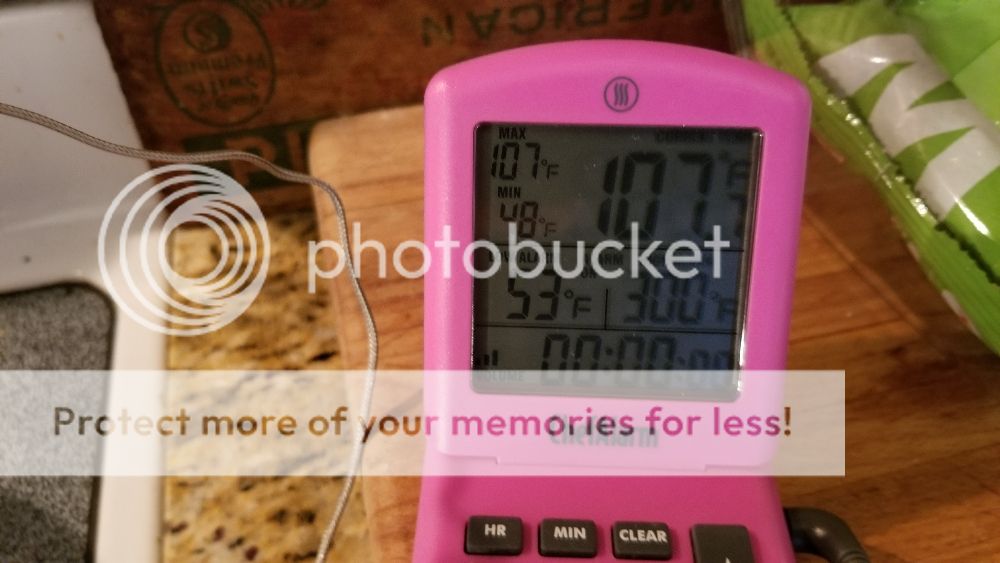
Meanwhile, in a second pot the sugar, corn syrup and water is heated, watching for a temp of 300 F. No stirring at all during this initial stage. The Thermoworks Chef Alarm makes temperature monitoring easy. We're getting there slowly, only at 107.
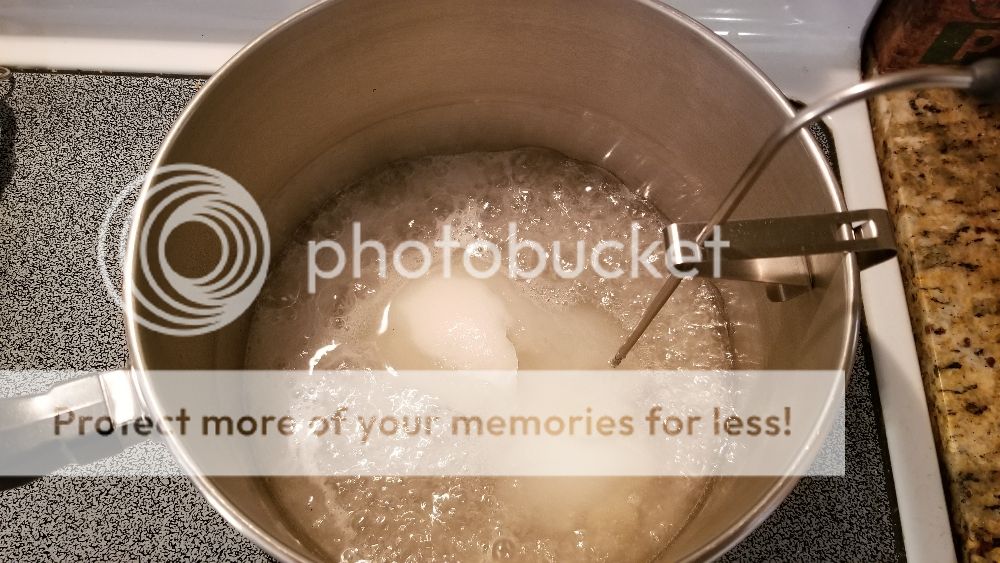
We still have some sugar to melt and a way to go.
Finally, made it to 300.
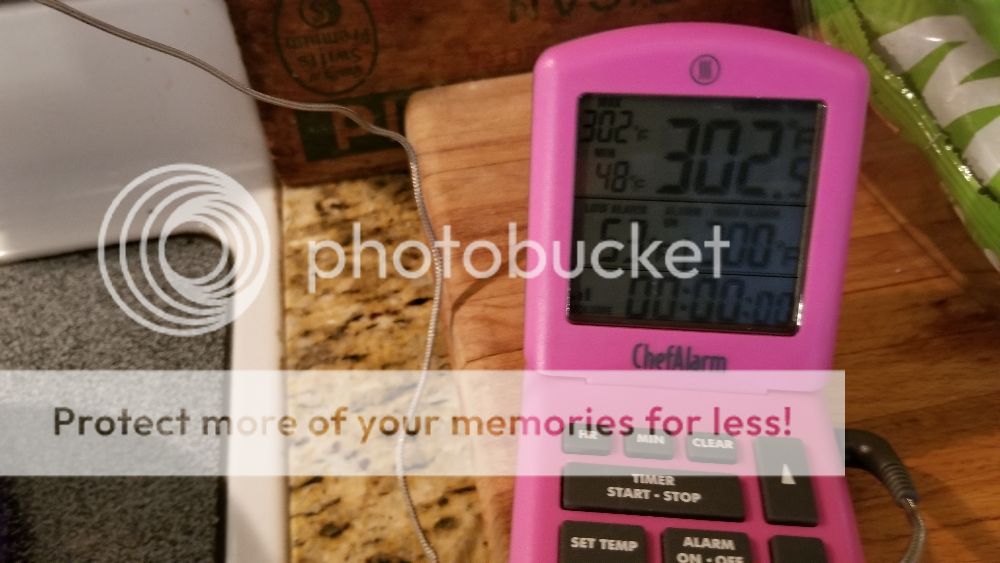
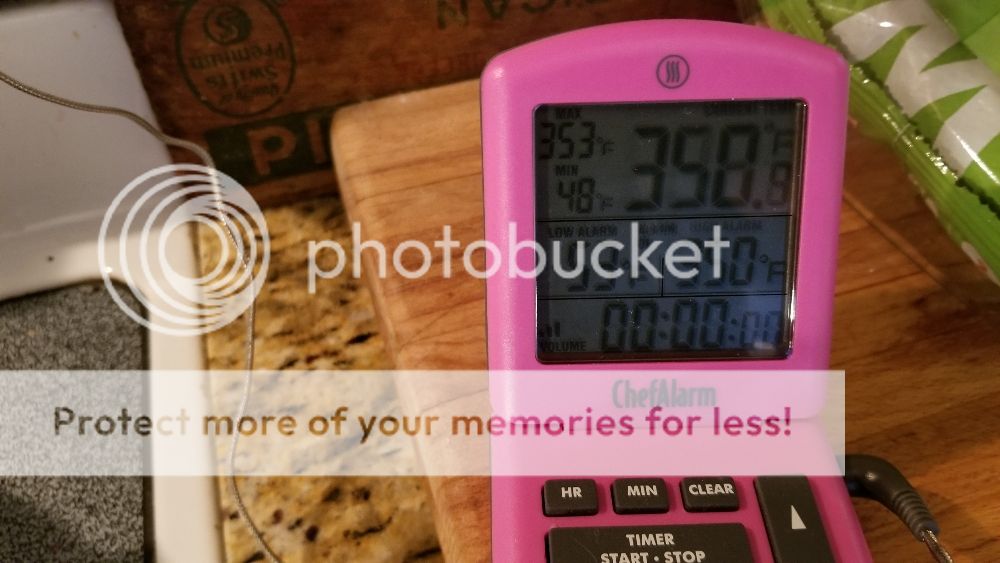
Lower the heat a bit and wait for the next temperature threshold of 350. During this stage the pot can be swirled periodically, but still no stirring.

And we're just about there, the color has darkened considerably.

Next up, add the butter/cream mixture to the sugar mixture. It bubbles up a bit, heat is lowered and we're waiting for a final temperature of 248 (Firm Ball stage). During this stage, constant stirring is necessary which takes on the order of 10-15 minutes. No breaks allowed, we don't want to burn the caramel by leaving it unattended.

Sorry for the blurry pic, but it's reached 248 and is ready to come off the heat.


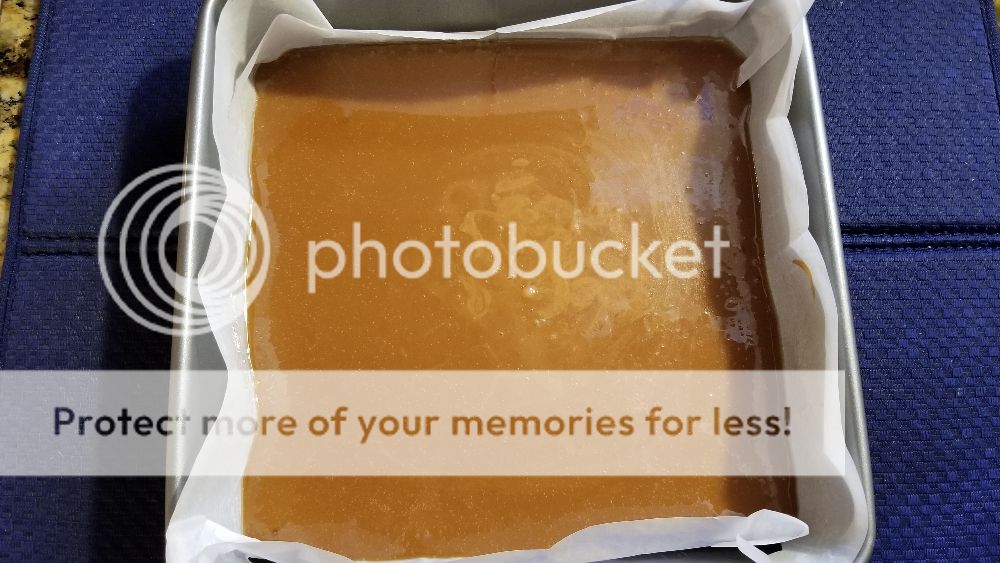
At this point it's poured into an 8x8 or 9x9 pan lined with parchment paper, sprayed with cooking spray.
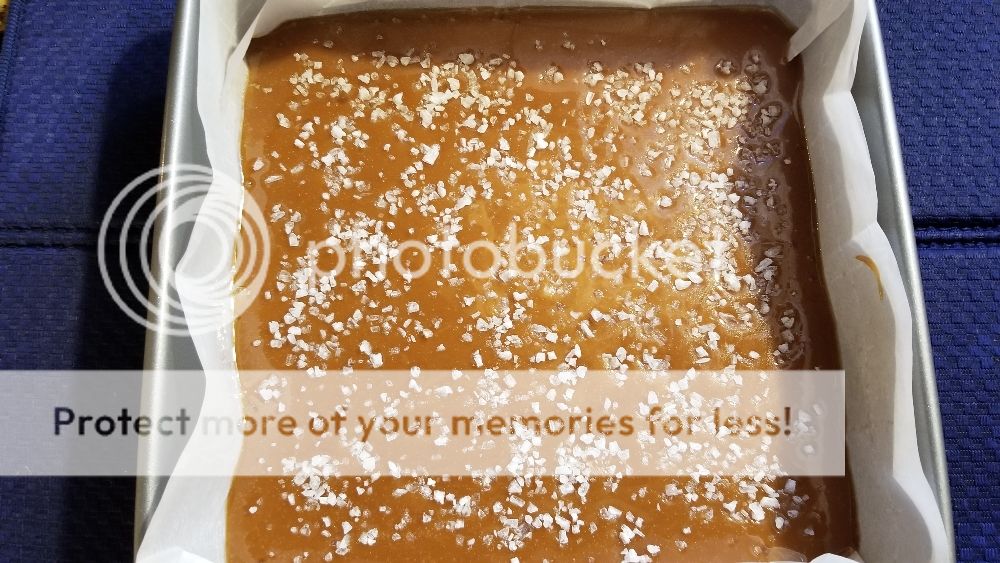
After a few minutes to let it set up, I sprinkle it with Sea Salt.
Let it cool for an hour on the counter, then another hour in the fridge.
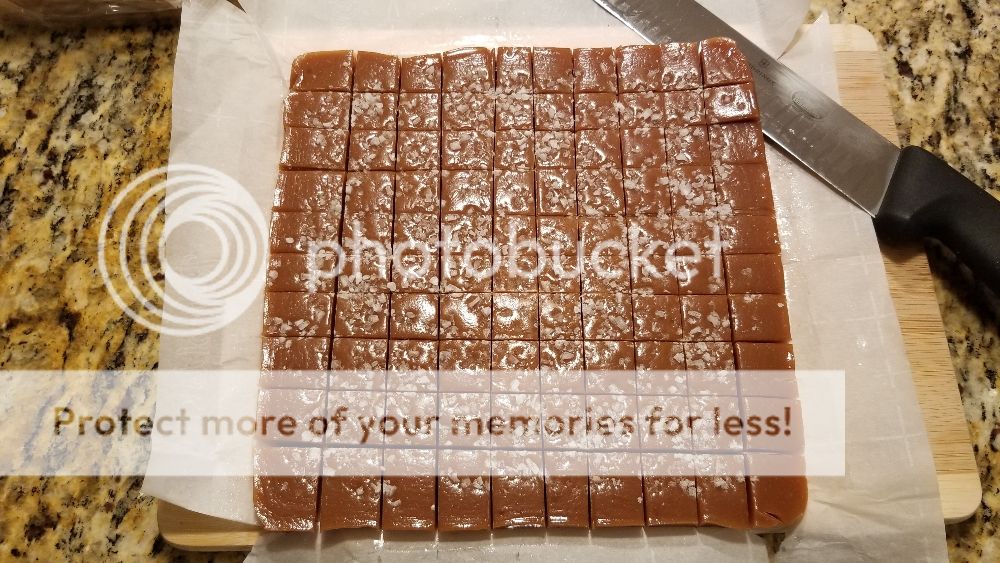
Sometimes I'll cut 8x8 squares for a total of 64. Today I cut 10x10 squares for a total of 100. It's a bit more wrapping, but they're still a decent size caramel.
When I first began making these some years ago I was cutting my own wrappers out of waxed paper. It was a real pain to do and the paper never stayed properly twisted. So I invested in cellophane wrappers from someplace on amazon. I think I have 4000 wrappers! In a past year when I really got into this, I went through over 1000 wrappers. That's a lot of caramel to make and wrap.
And they're done! Fortunately Mrs. lunchman helps me wrap. With quality control testing, there are about 94 caramels. Ya gotta make sure they're good and up to standards.

I've had friends and family rave about these, they beg me to make them and I oblige. One year a buddy ordered a few hundred and paid me for the ingredients as he wanted to share them with friends. I can honestly say they're that good. I even had someone recently ask if I would make these commercially but I had to decline. It's a home kitchen and I'm not taking on liabilities like that.
I've also covered these in chocolate, just set up a water bath, melt chocolate and dip them in. I've made chocolate variants of the caramel as well.
Along with these original caramels, I've also made a honey variant (replaces the corn syrup). And I've ventured out into making toffee and peanut brittle. The peanut brittle is loads of fun to make. It's like a science experiment at the end when the baking soda is added.
If you've never tried candy making, give it a go. It's not overly difficult. You've got to watch temps and be prepared to do a lot of stirring and standing at the stove. But the results are well worth it. If I can do it, you can do it.
I've got a few more batches to make before Christmas. If I decide to make some variants I'll post more pictures.
And before anyone asks - No, I'm not adapting these to the grill! :razz:
Thanks for taking the time to read through this post.
Regards,
-lunchman
These are Salted Caramels. Time at the stove is less than one hour. Total time to make them is around three, adding in an hour to cool on the counter and another hour in the fridge. Add additional time to wrap.
Let's get started. The ingredients:

The heavy cream, vanilla extract, butter and salt are prepared in one pot, brought to a boil and then taken off the burner to meld together. In the past I've used real Vanilla Bean, splitting and scraping the seeds, but the cost has skyrocketed lately and the use of Vanilla Extract doesn't detract from the final product.

Meanwhile, in a second pot the sugar, corn syrup and water is heated, watching for a temp of 300 F. No stirring at all during this initial stage. The Thermoworks Chef Alarm makes temperature monitoring easy. We're getting there slowly, only at 107.

We still have some sugar to melt and a way to go.

Finally, made it to 300.

Lower the heat a bit and wait for the next temperature threshold of 350. During this stage the pot can be swirled periodically, but still no stirring.

And we're just about there, the color has darkened considerably.


Next up, add the butter/cream mixture to the sugar mixture. It bubbles up a bit, heat is lowered and we're waiting for a final temperature of 248 (Firm Ball stage). During this stage, constant stirring is necessary which takes on the order of 10-15 minutes. No breaks allowed, we don't want to burn the caramel by leaving it unattended.

Sorry for the blurry pic, but it's reached 248 and is ready to come off the heat.


At this point it's poured into an 8x8 or 9x9 pan lined with parchment paper, sprayed with cooking spray.

After a few minutes to let it set up, I sprinkle it with Sea Salt.

Let it cool for an hour on the counter, then another hour in the fridge.
Sometimes I'll cut 8x8 squares for a total of 64. Today I cut 10x10 squares for a total of 100. It's a bit more wrapping, but they're still a decent size caramel.

When I first began making these some years ago I was cutting my own wrappers out of waxed paper. It was a real pain to do and the paper never stayed properly twisted. So I invested in cellophane wrappers from someplace on amazon. I think I have 4000 wrappers! In a past year when I really got into this, I went through over 1000 wrappers. That's a lot of caramel to make and wrap.

And they're done! Fortunately Mrs. lunchman helps me wrap. With quality control testing, there are about 94 caramels. Ya gotta make sure they're good and up to standards.

I've had friends and family rave about these, they beg me to make them and I oblige. One year a buddy ordered a few hundred and paid me for the ingredients as he wanted to share them with friends. I can honestly say they're that good. I even had someone recently ask if I would make these commercially but I had to decline. It's a home kitchen and I'm not taking on liabilities like that.
I've also covered these in chocolate, just set up a water bath, melt chocolate and dip them in. I've made chocolate variants of the caramel as well.
Along with these original caramels, I've also made a honey variant (replaces the corn syrup). And I've ventured out into making toffee and peanut brittle. The peanut brittle is loads of fun to make. It's like a science experiment at the end when the baking soda is added.
If you've never tried candy making, give it a go. It's not overly difficult. You've got to watch temps and be prepared to do a lot of stirring and standing at the stove. But the results are well worth it. If I can do it, you can do it.
I've got a few more batches to make before Christmas. If I decide to make some variants I'll post more pictures.
And before anyone asks - No, I'm not adapting these to the grill! :razz:
Thanks for taking the time to read through this post.
Regards,
-lunchman


