BigButzBBQ
is Blowin Smoke!
- Joined
- Mar 16, 2010
- Messages
- 1,983
- Reaction score
- 2,289
- Points
- 0
- Age
- 44
- Location
- Northwestern Wisconsin
The other day I had taken 2 chickens out to feed my family and the extended family for dinner. The only problem was that I ended up playing School Bus driver in the afternoon and ran out of time to be able to cook up the birdies beer can style on the UDS, like I had planned to. In the end, I was left with about an hour and 40 minutes to cook two whole chickens. That's when I decided I would spatchcock them. For those who don't know what spatchcocking is; it's when "butterfly" out a whole chicken by cutting out the spine and removing the breast bone to cause the whole bird to lay out flat.
(For those who know about this process, you might want to skip ahead and just enjoy the pretty pictures along the way. :becky")
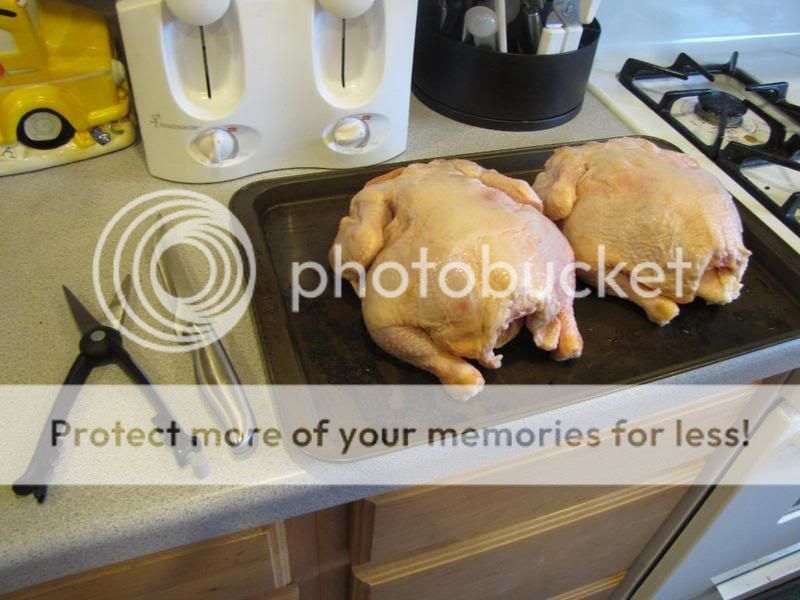
For spatchcocking, you will need a decent set of kitchen sheers, a boning knife, and a butchering surface. I like to use a baking sheet because it helps to hold all of the blood and pieces in better than just a cutting board.
With the bird breast down, you are going to start at the bottom and place your scissors anywhere from half an inch to an inch away from the middle of the spine.
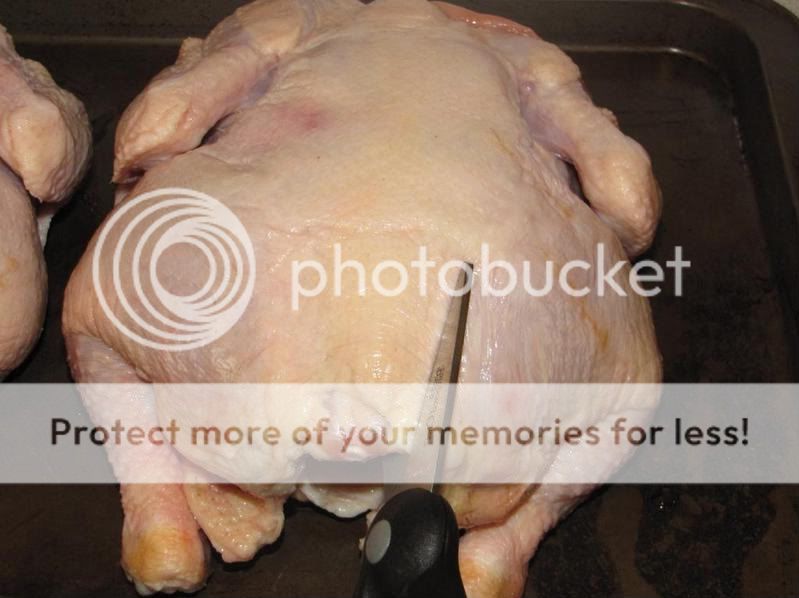
Then cut straight up all the way through the neck hole. You will be cutting through bones along the way so, depending on the quality of your sheers it may take a little effort and a couple off attempts.
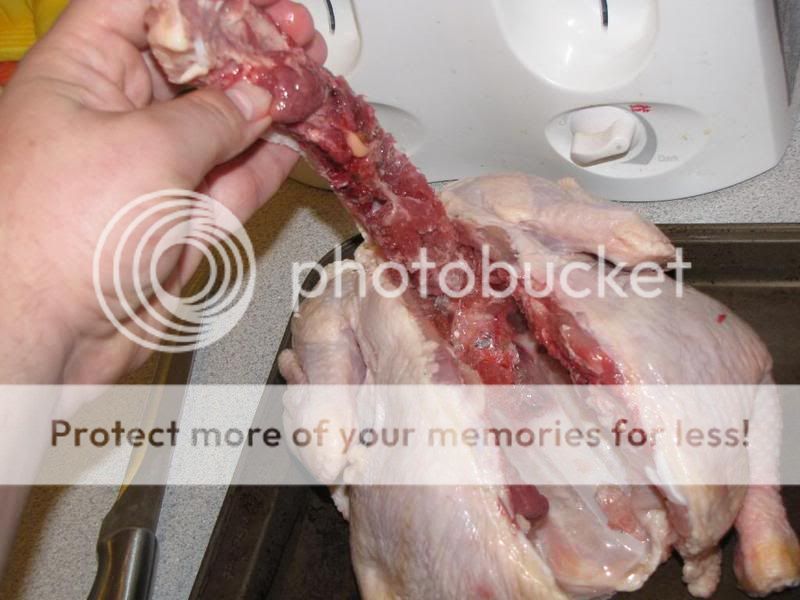
Then preform the same operation on the other side of the spine to remove it entirely.
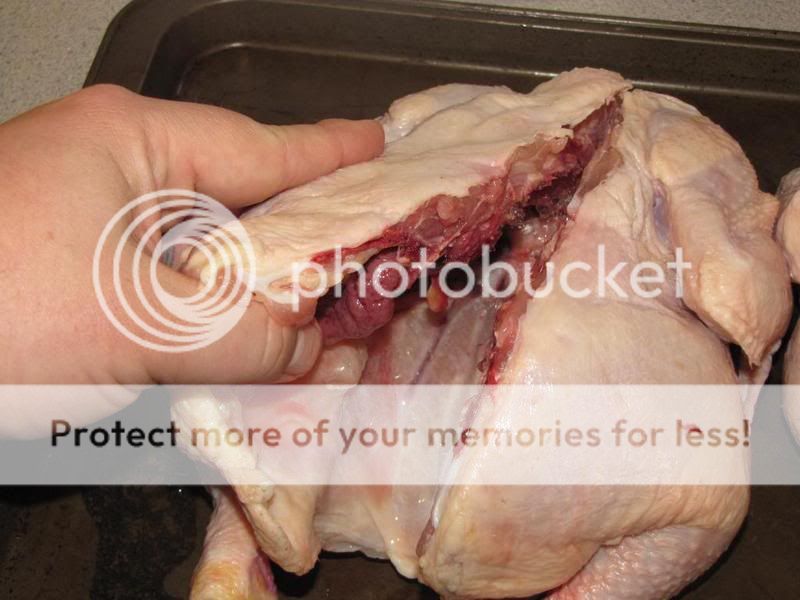
Once the spine is removed, push on both sides of the bird to open up the cavity better. Then with your knife, you are going to want to cut along the breast bone or sternum. Towards the top there will be a couple of ribs that you will have to cut through. Towards the bottom you are going to want to pierce the skin near the bone but don't go too deep.
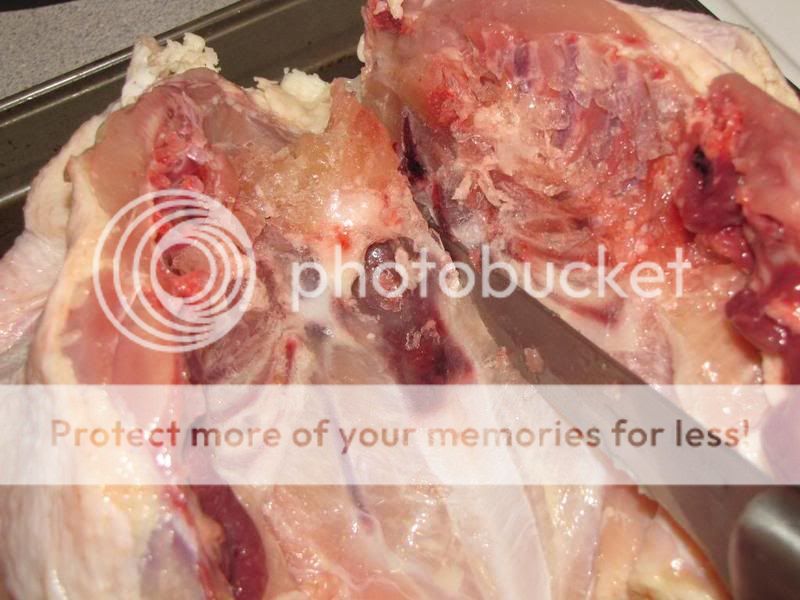
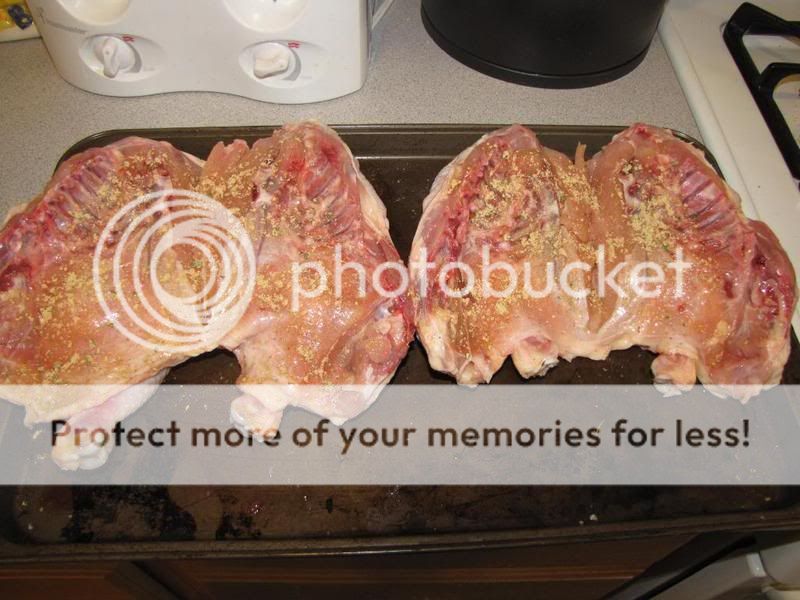
After all the slices around the breast bone/sternum have been made, you will find that you can run your fingers in along it and with a little work you will be able to free it from the meat. Next it's time to season up the birds and get them ready to go on the grill.
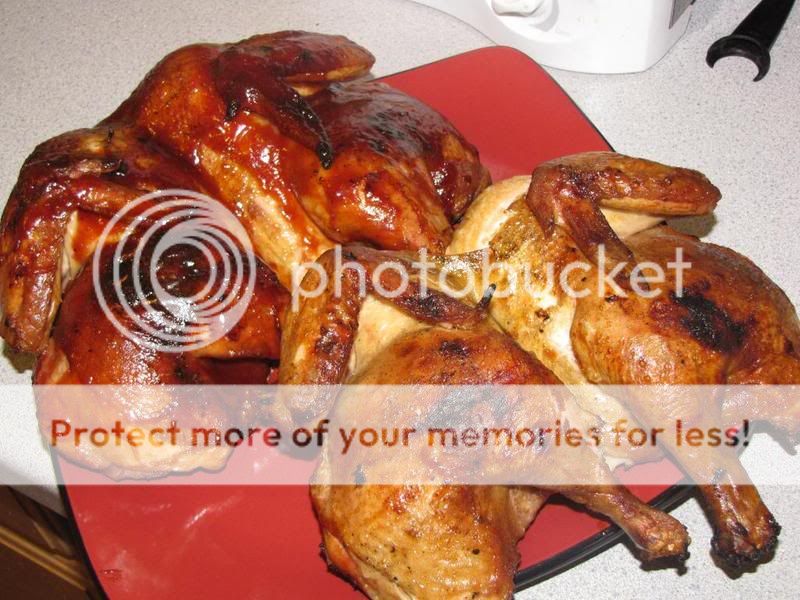
For cooking, I put the birds meat side down directly over the heat. I let them sit there for about 15-20 minutes, or until they lift free easily and give them a quarter turn. After another 15 minutes I flip them and repeat the process. At the hour mark they go meat side down again and will remain that way until finished cooking. If you are going to sauce your birds, I suggest doing it in the last 10-15 minutes of their cooking.
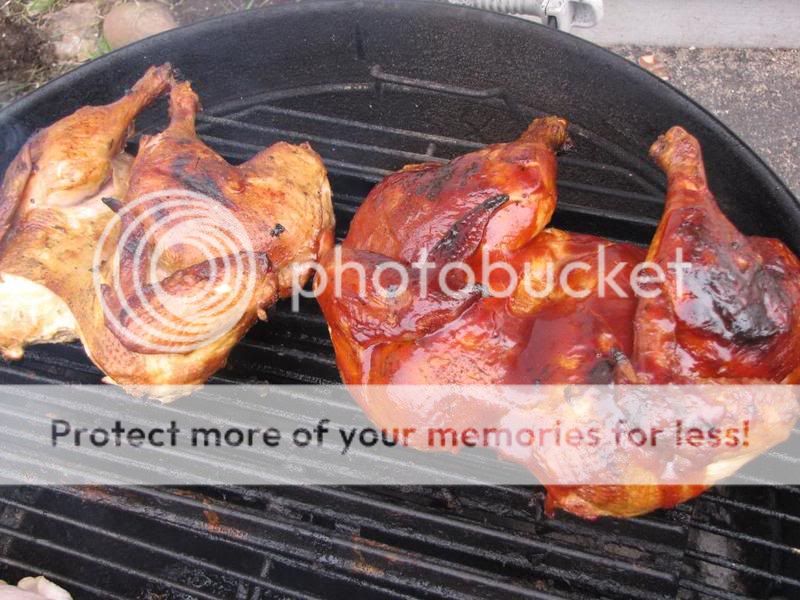
I cook them until the breast reaches a minimum of 155 and the legs reach a minimum of 170. While cooking the birds, often more of them will be over the fire than another part, I try to make this part be the leg portion of the bird as much as possible.
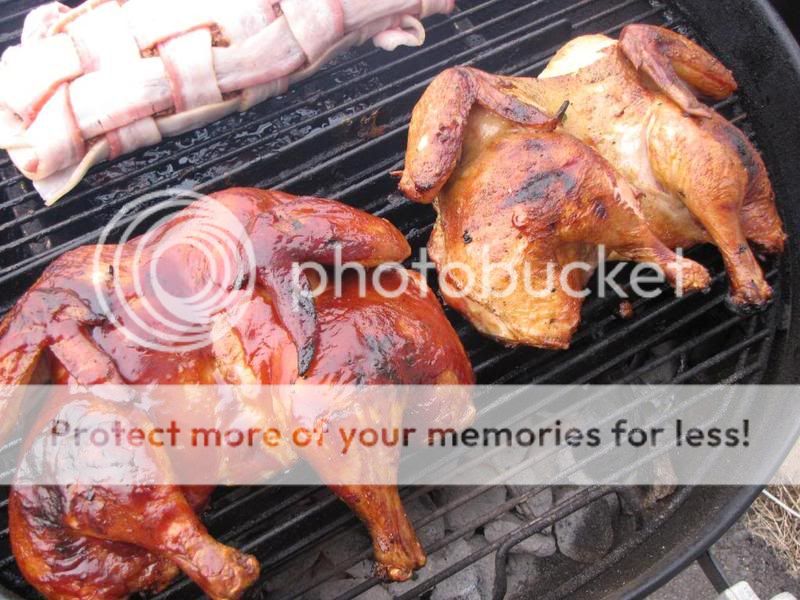
Most of the time it takes around 1 hour 20 minutes to 1 hour 30 minutes for a bird to cook this way. It's fast and the bird is super flavorful.
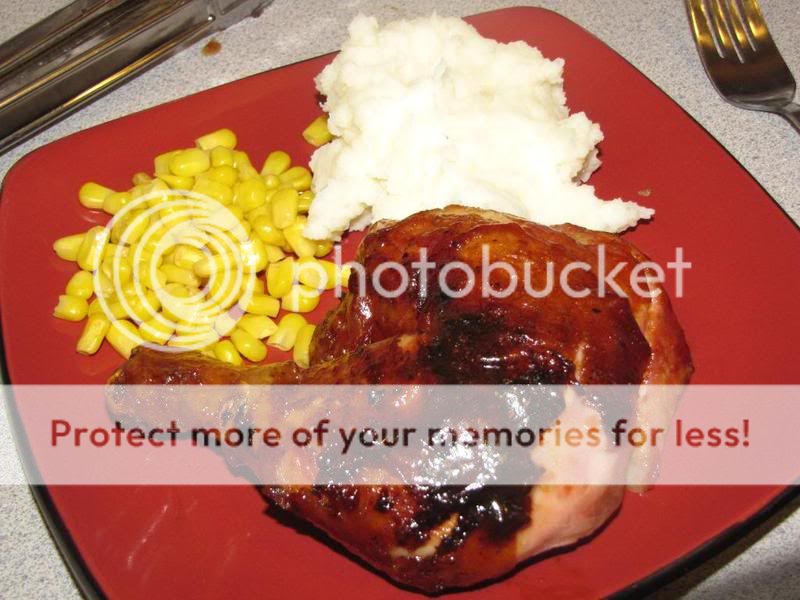
When it comes to serving it, do as you like best. They are great as a 1/2 bird meal or if you want to carve them up like you would a normal bird. Also, doing birds this way makes for great pulled chicken sandwiches.
Thanks for looking! :thumb:
(For those who know about this process, you might want to skip ahead and just enjoy the pretty pictures along the way. :becky
For spatchcocking, you will need a decent set of kitchen sheers, a boning knife, and a butchering surface. I like to use a baking sheet because it helps to hold all of the blood and pieces in better than just a cutting board.
With the bird breast down, you are going to start at the bottom and place your scissors anywhere from half an inch to an inch away from the middle of the spine.
Then cut straight up all the way through the neck hole. You will be cutting through bones along the way so, depending on the quality of your sheers it may take a little effort and a couple off attempts.
Then preform the same operation on the other side of the spine to remove it entirely.
Once the spine is removed, push on both sides of the bird to open up the cavity better. Then with your knife, you are going to want to cut along the breast bone or sternum. Towards the top there will be a couple of ribs that you will have to cut through. Towards the bottom you are going to want to pierce the skin near the bone but don't go too deep.
After all the slices around the breast bone/sternum have been made, you will find that you can run your fingers in along it and with a little work you will be able to free it from the meat. Next it's time to season up the birds and get them ready to go on the grill.
For cooking, I put the birds meat side down directly over the heat. I let them sit there for about 15-20 minutes, or until they lift free easily and give them a quarter turn. After another 15 minutes I flip them and repeat the process. At the hour mark they go meat side down again and will remain that way until finished cooking. If you are going to sauce your birds, I suggest doing it in the last 10-15 minutes of their cooking.
I cook them until the breast reaches a minimum of 155 and the legs reach a minimum of 170. While cooking the birds, often more of them will be over the fire than another part, I try to make this part be the leg portion of the bird as much as possible.
Most of the time it takes around 1 hour 20 minutes to 1 hour 30 minutes for a bird to cook this way. It's fast and the bird is super flavorful.
When it comes to serving it, do as you like best. They are great as a 1/2 bird meal or if you want to carve them up like you would a normal bird. Also, doing birds this way makes for great pulled chicken sandwiches.
Thanks for looking! :thumb:
Last edited:
