Smilerb
Is lookin for wood to cook with.
Please don’t expect a super fast build as I can only work on it one day a week.
After lots of research (mainly on this great site) I have decided to build a double barrel smoker but with a few other ideas thrown in, I’m taking some principles from other BBQ’s and using them on my build.
For the lower “barrel” I will be using the large section from my present offset smoker, it was cheap and I have already modified it but I can’t keep everything! The cooking barrel will be a 50 gal drum
The Plan.............

dedicated air flow to the fire box, as found on the BGE and on some UDS’s, adding a heavy metal deflector as used in some offset smokers and also making the internal height of the smoke stacks adjustable.
I’m a great believer in reusing unwanted items. Here's the first, an old TV/VCR stand from the College I work at.

It all unbolts so I have lots of handy items, the wheels and frame will form part of my own frame, the support tubes will become the air intakes for the fire box. The lockable box is made of 2.5 mm thick steel from this I will make my heat/smoke transfer box and main damper and also it will form part of the fire box.

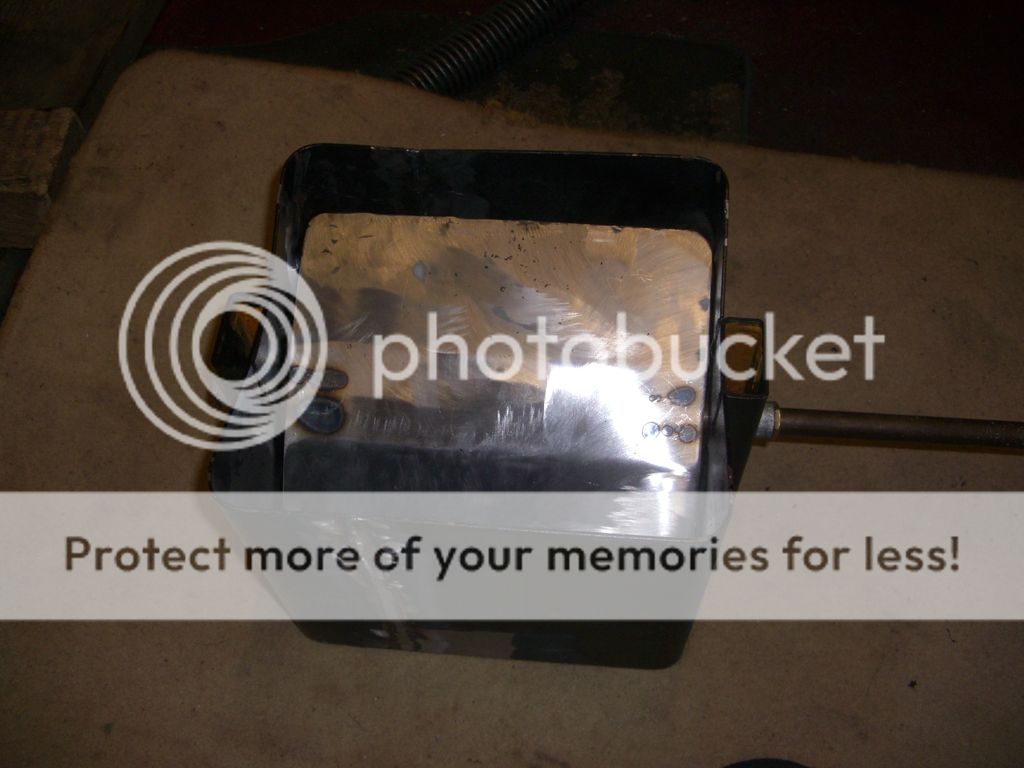
Transfer box made up with the bushes loosely fitted for the damper control.

Damper made up from the door, cut in half and welded back together
Damper loosely installed still more to do but that will happen later.
Hopefully another update next week
Gavin
After lots of research (mainly on this great site) I have decided to build a double barrel smoker but with a few other ideas thrown in, I’m taking some principles from other BBQ’s and using them on my build.
For the lower “barrel” I will be using the large section from my present offset smoker, it was cheap and I have already modified it but I can’t keep everything! The cooking barrel will be a 50 gal drum
The Plan.............

dedicated air flow to the fire box, as found on the BGE and on some UDS’s, adding a heavy metal deflector as used in some offset smokers and also making the internal height of the smoke stacks adjustable.
I’m a great believer in reusing unwanted items. Here's the first, an old TV/VCR stand from the College I work at.

It all unbolts so I have lots of handy items, the wheels and frame will form part of my own frame, the support tubes will become the air intakes for the fire box. The lockable box is made of 2.5 mm thick steel from this I will make my heat/smoke transfer box and main damper and also it will form part of the fire box.

Transfer box made up with the bushes loosely fitted for the damper control.

Damper made up from the door, cut in half and welded back together

Damper loosely installed still more to do but that will happen later.
Hopefully another update next week
Gavin


