
They sure weren't kidding when they said everything is bigger in Texas. After four months of waiting from the order date she is home safe and sound. BBQ enthusiast or not everyone from neighbors on were like this :jaw:
This thing has exceeded my expectations and never have I bought something sight unseen and been amazed. Built extremely well and works like a dream. You owe it to yourselves if you're considering a new pit. From customer service to support to quality I've never dealt with anyone like this. Pics don't to it justice.
Excuse the pics as some were taken with my cell. Let's get to it.
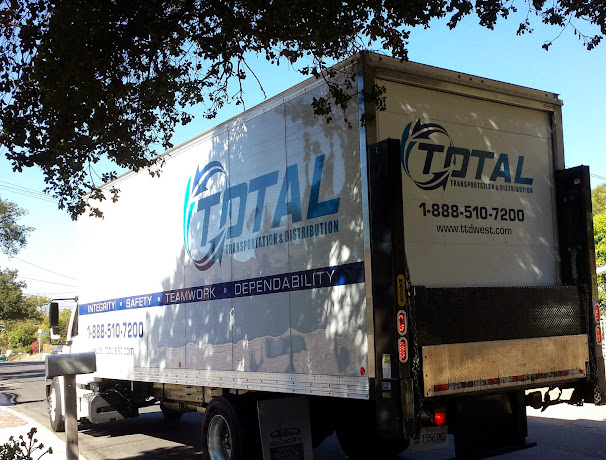
24x30 vertical offset smoker with the warming oven from Lone Star Grillz in Willis, TX formerly of Conroe, TX.
I heard a truck pull up and stop right in front of my house:becky:
Ohhh baby!!
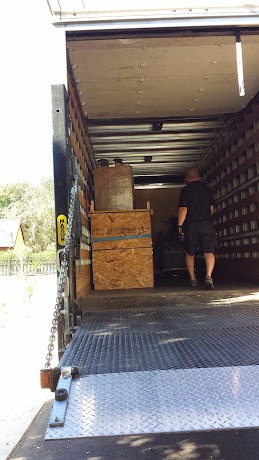
In the delivery guy's exact words "If your guy does this good of a job on crating then you've got yourself a helluva smoker"

After taking off the boards and removing the plastic wrap layer plus the cardboard wrapping there was one more layer of wrap.

And here she is. Not a scratch on her and it's obvious why

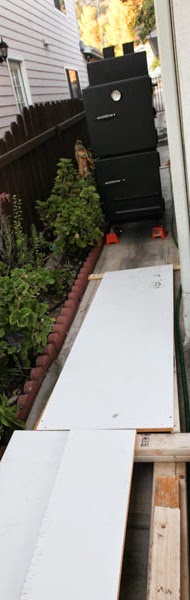
Now the journey through the side of the house to the back. This is where it got tricky.

The side entrance of the yard is multi level. There was a drop and incline and the final drop to the new landing pad (concrete pad) I had especially made for the smoker and all my charcoal toys. My dad was along for the ride and we made some makeshift ramps with some old material in my garage and the crate base that the smoker sat on.
Don't worry guys, it was all reinforced underneath :-D
She came down the first flight of stairs and now on it's way up to the back patio.
We rolled her up to the back patio without a hitch.
I just about used every tool I have in the garage:biggrin1:


One more drop and she'll be at her new place:boxing: Ain't easy moving a 1200lb rig up and down flight of stairs.
After modifying the ramp yet one more time (the steepest) we safely landed her on the new pad. :clap2:
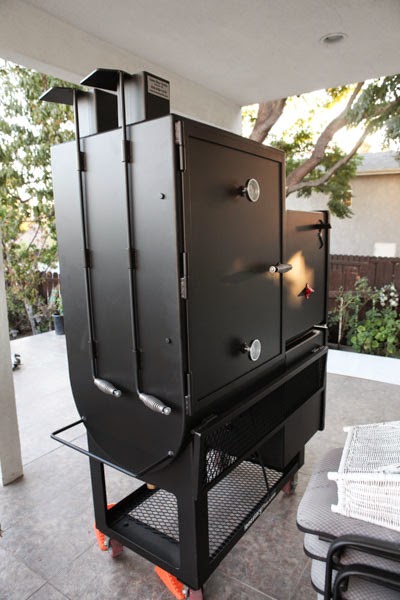
I just realized I don't have a good pic of the permanent spot so here's a fast forward to a seasoning pic where she calls home.

Now a break down of the pit (add-ons and such)
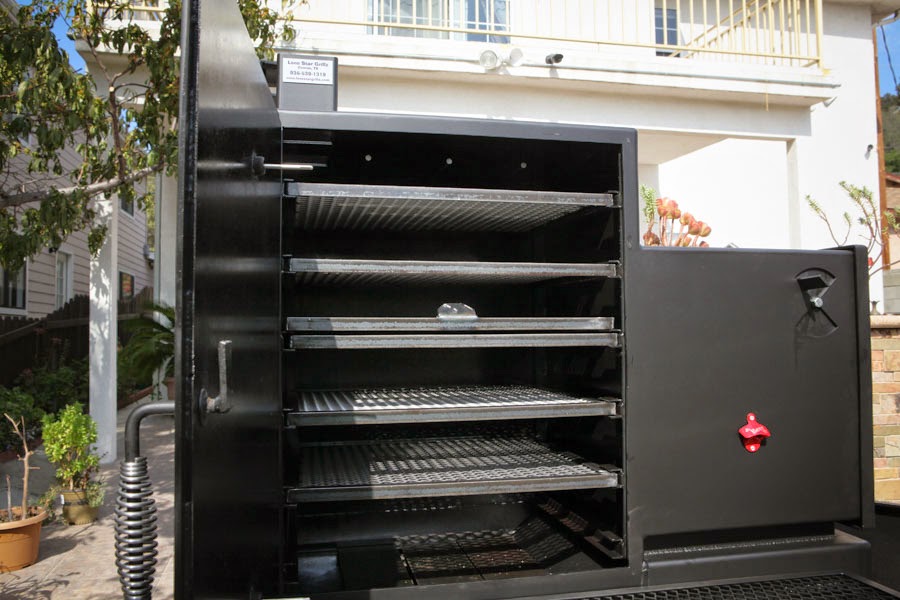
Pics of the main chamber

Six racks that hold two full size pans. Tuning plates at the bottom
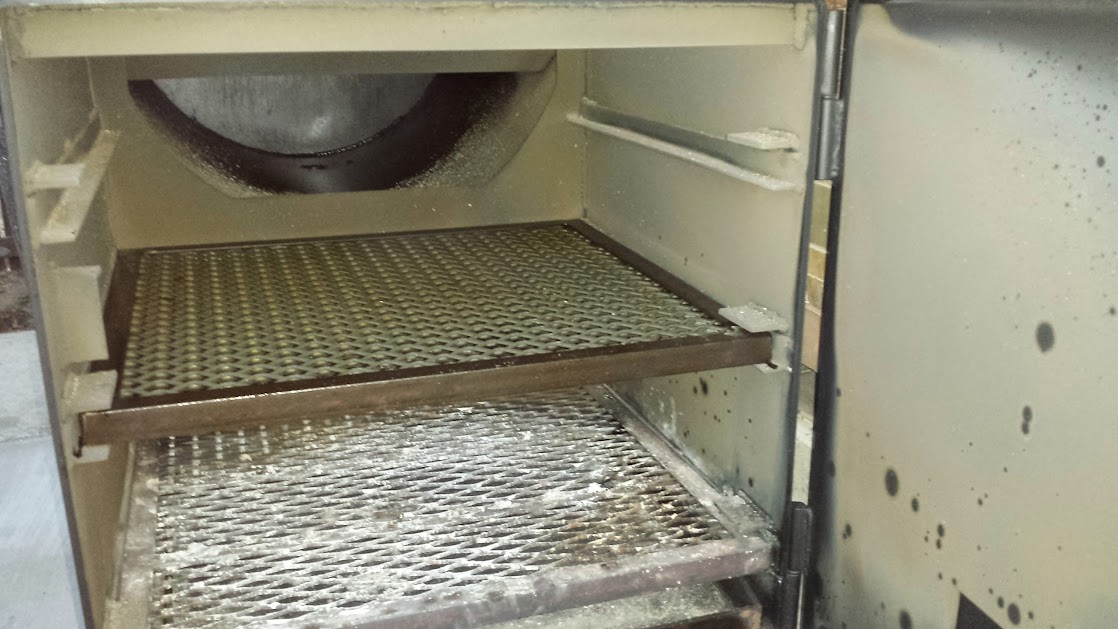
First I ordered mine with the warming oven

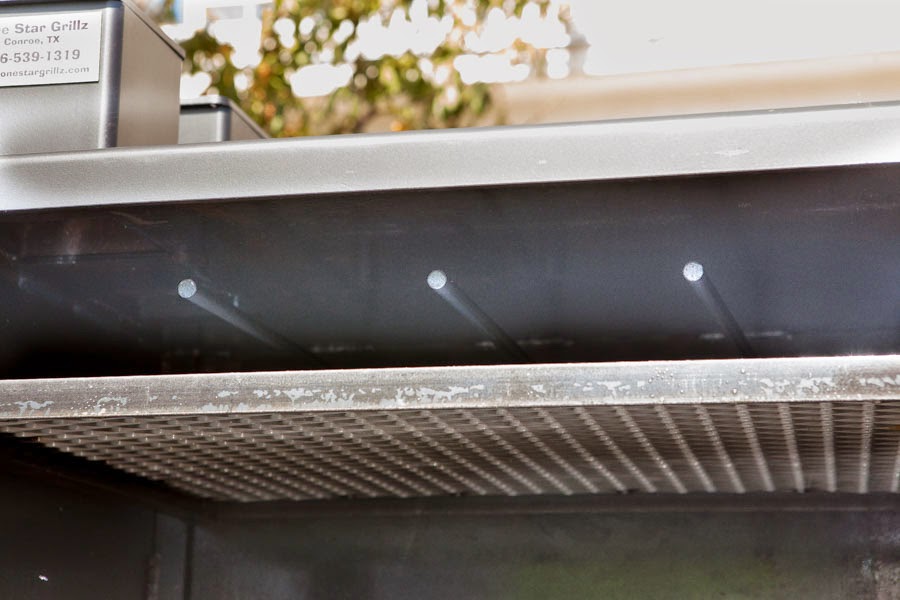
I also added two sausage hangers in the oven (all sausage hangers are removable)
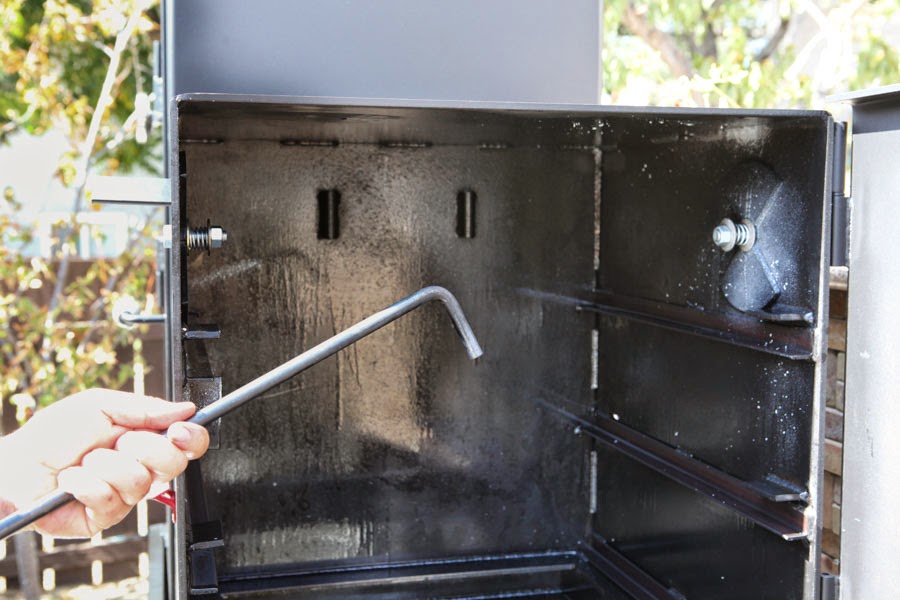
Removable plate for full heat source into the oven or however you want to use it

With the plate on you get radiant heat or crack the plate back a bit for more heat in the oven
Oven comes with 3 racks

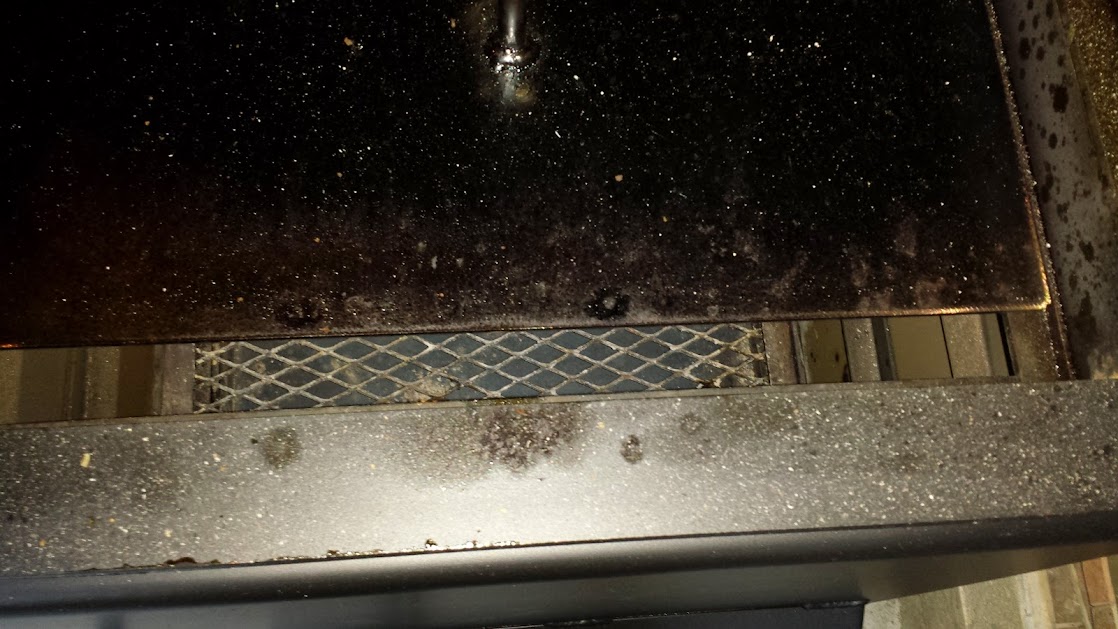
This is the firebox. Charcoal rack and a grilling rack that can be positioned at two levels. Chris makes this factory standard so to speak.
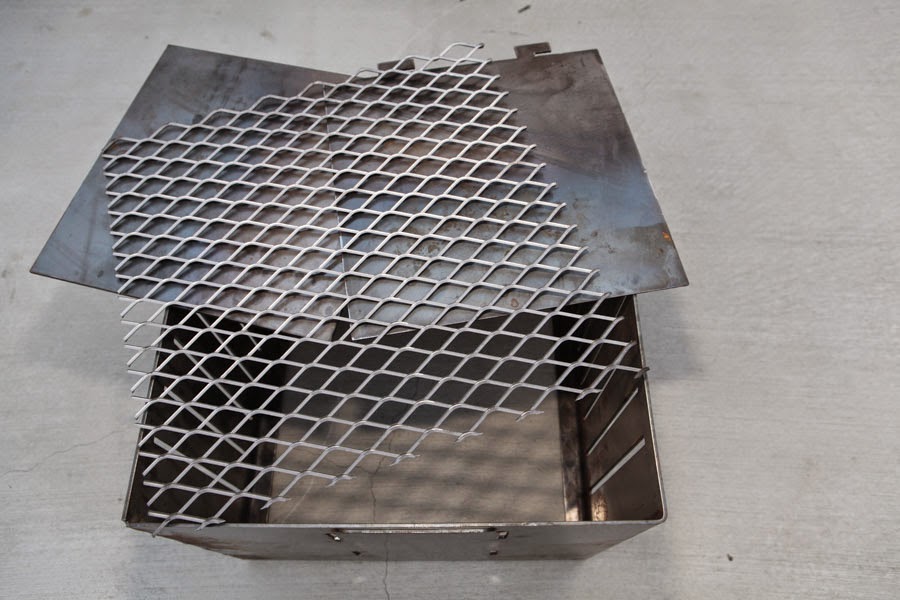
I bought the charcoal basket with the removable S baffles and removable expanded metal for easy replacement. HEAVY DUTY and mad of 1/8" steel sheet
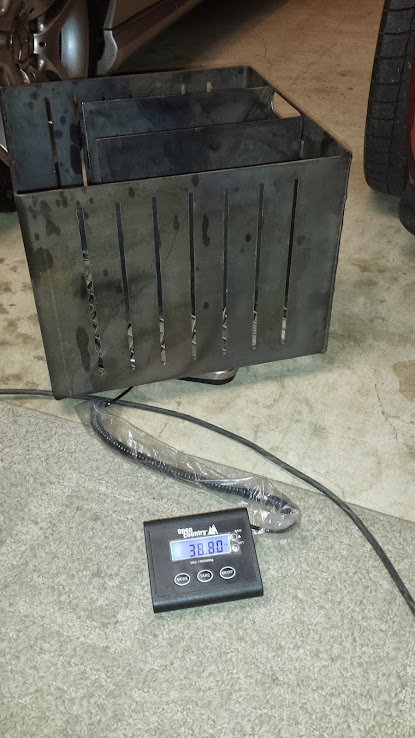
Did I say HEAVY DUTY? I was curious:loco:
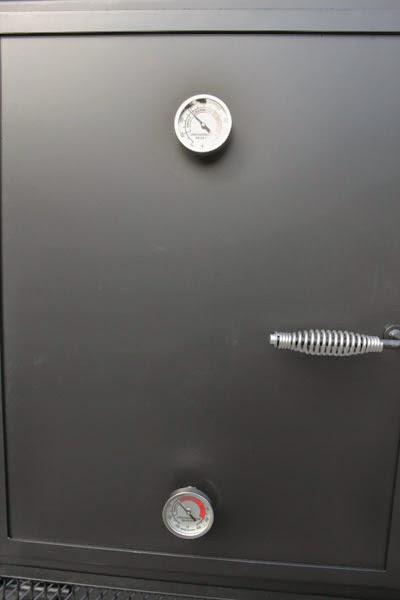
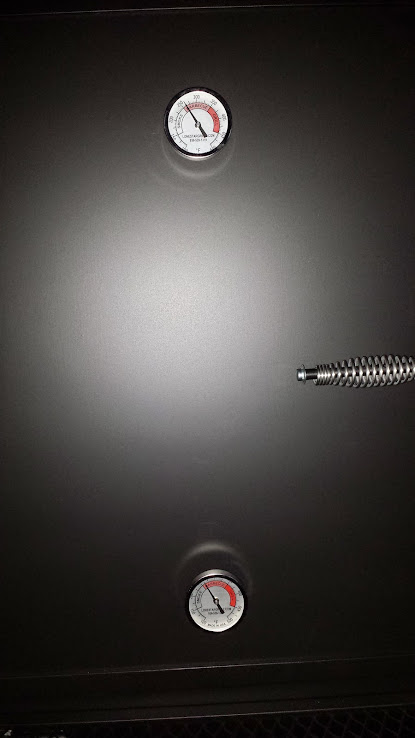
Second thermo was also an option as it comes with only one
Bottle opener was an idea that I had so Amber told me to send one and they'll attach for me. (No charge for that)

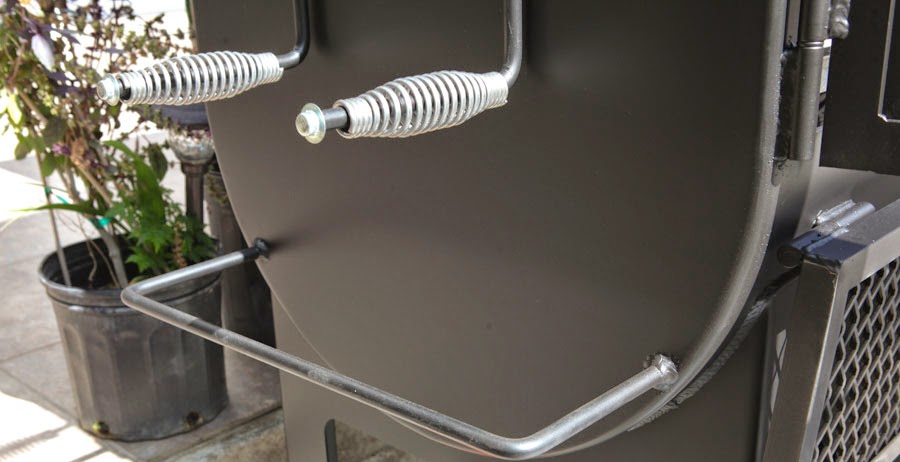
Other option I had Chris add was a pull handle and cool touch handles on the damper rods
Folding table was another accessory
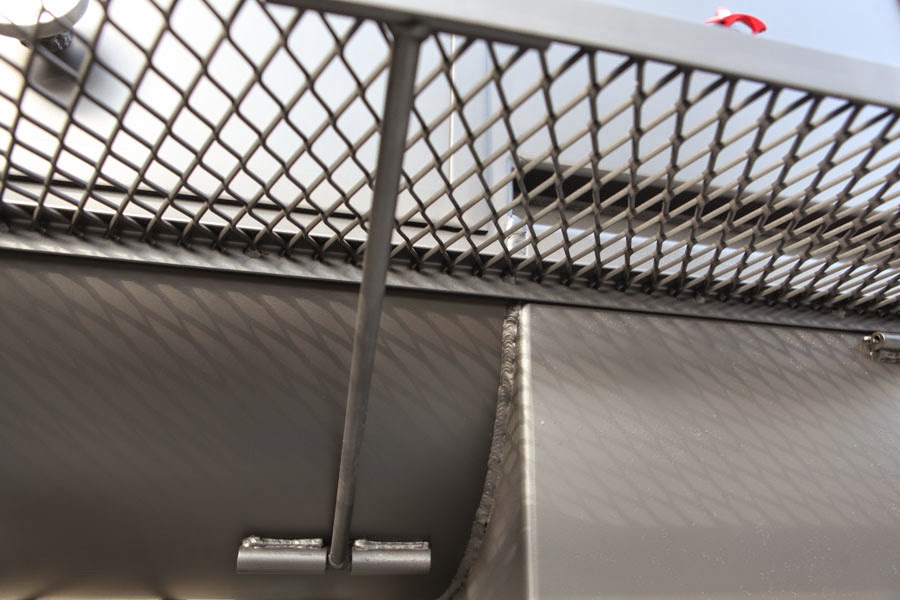
Ash rake and charcoal tools are accessories as well which I added. Also, another accessory was the tool rack in the back.

Guru port was one other option I added. Now there is a 3/4" threaded adapter that comes with all LSG offset pits standard for gas assist but you can also run guru fans if you add another port. You need the fan adapters from BBQGURU.com
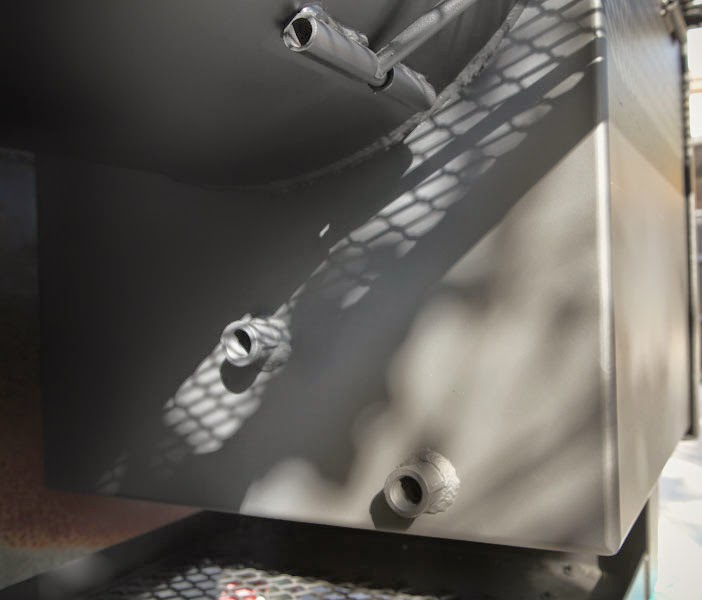
I also had Chris add two probe holes for the Mavericks, CyberQ, DIGIq's etc.


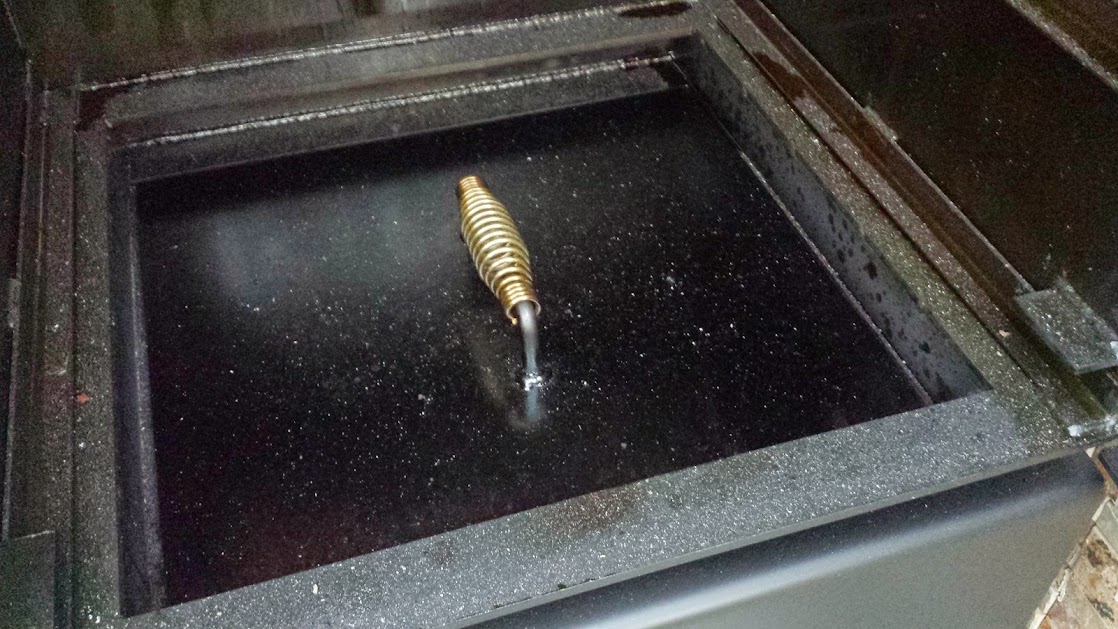
Added the ball valve for easier clean up

Oh I almost forgot. I also added a pullout ash pan for easier clean up. Again, heavy duty 1/4" steel with handles.

I think that's all the option WHEW!!!
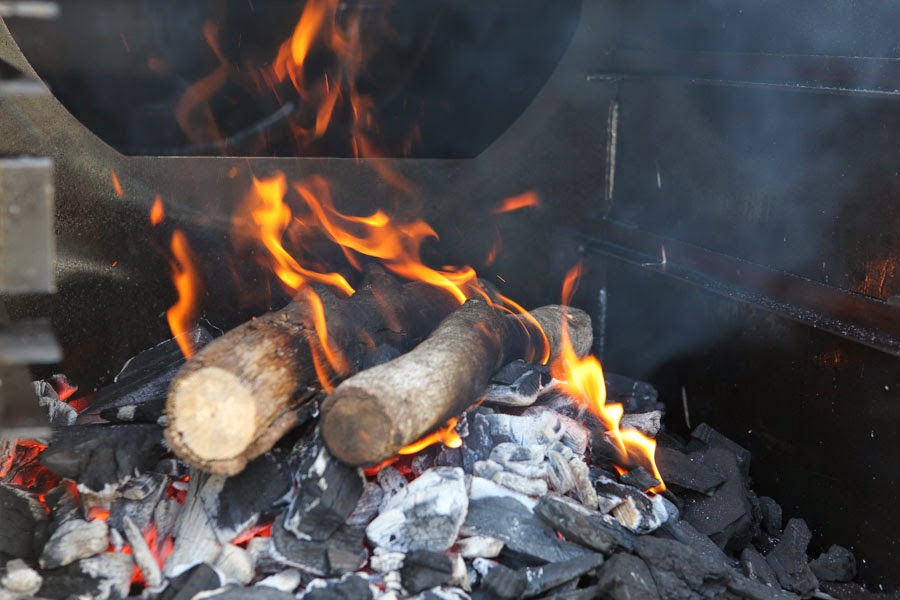
A few pics of the seasoning process. I started off slowly to keep it at 225-250 max to cure the paint
She holds temps like a champ all across the main chamber.:thumb:
So easy to control this thing it's not even funny.

Look at that beautiful patina after seasoning.

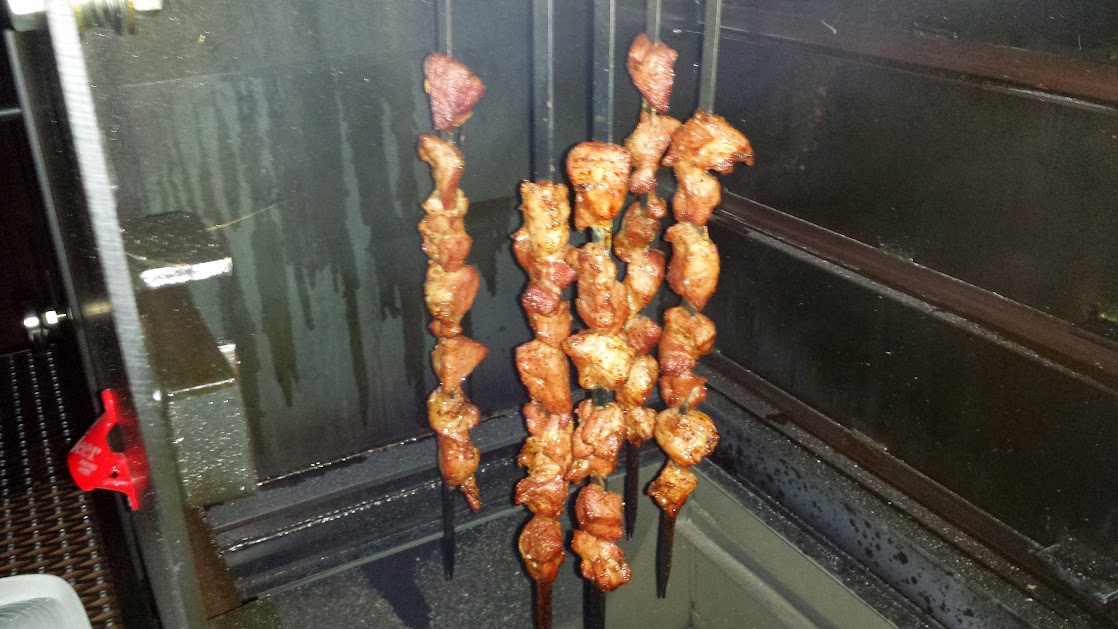
And I did a quick weeknight something cook in the oven. Pork butt chunks on my custom PBC skewers. I also used the PBC basket since I didn't need much fuel. I controlled the heat with the bottom intake and one of oven dampers. Nailed it at 350 with no issues. Im simply amazed.


Done in about 1 hour and absolutely delicious and tender
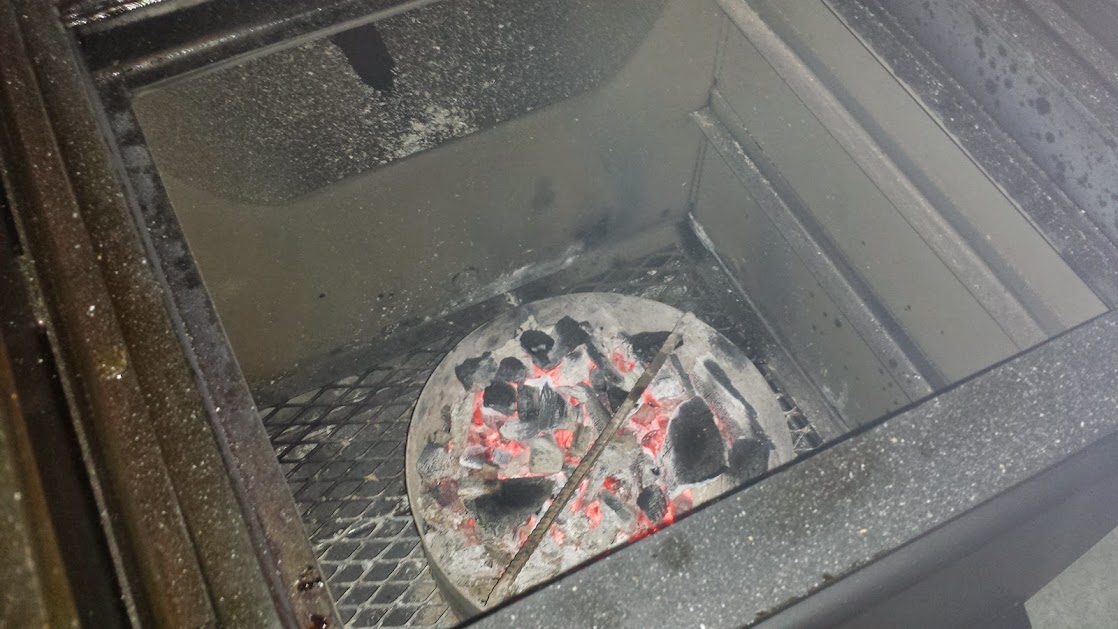
Still charcoal left
This is it for now guys!! Hope I was thorough enough. More to come for sure.
Thank you!!!
This thing has exceeded my expectations and never have I bought something sight unseen and been amazed. Built extremely well and works like a dream. You owe it to yourselves if you're considering a new pit. From customer service to support to quality I've never dealt with anyone like this. Pics don't to it justice.
Excuse the pics as some were taken with my cell. Let's get to it.
24x30 vertical offset smoker with the warming oven from Lone Star Grillz in Willis, TX formerly of Conroe, TX.
I heard a truck pull up and stop right in front of my house:becky:
Ohhh baby!!
In the delivery guy's exact words "If your guy does this good of a job on crating then you've got yourself a helluva smoker"
After taking off the boards and removing the plastic wrap layer plus the cardboard wrapping there was one more layer of wrap.
And here she is. Not a scratch on her and it's obvious why
Now the journey through the side of the house to the back. This is where it got tricky.
The side entrance of the yard is multi level. There was a drop and incline and the final drop to the new landing pad (concrete pad) I had especially made for the smoker and all my charcoal toys. My dad was along for the ride and we made some makeshift ramps with some old material in my garage and the crate base that the smoker sat on.
Don't worry guys, it was all reinforced underneath :-D
She came down the first flight of stairs and now on it's way up to the back patio.
We rolled her up to the back patio without a hitch.
I just about used every tool I have in the garage:biggrin1:
One more drop and she'll be at her new place:boxing: Ain't easy moving a 1200lb rig up and down flight of stairs.
After modifying the ramp yet one more time (the steepest) we safely landed her on the new pad. :clap2:
I just realized I don't have a good pic of the permanent spot so here's a fast forward to a seasoning pic where she calls home.
Now a break down of the pit (add-ons and such)
Pics of the main chamber
Six racks that hold two full size pans. Tuning plates at the bottom
First I ordered mine with the warming oven
I also added two sausage hangers in the oven (all sausage hangers are removable)
Removable plate for full heat source into the oven or however you want to use it
With the plate on you get radiant heat or crack the plate back a bit for more heat in the oven
Oven comes with 3 racks
This is the firebox. Charcoal rack and a grilling rack that can be positioned at two levels. Chris makes this factory standard so to speak.
I bought the charcoal basket with the removable S baffles and removable expanded metal for easy replacement. HEAVY DUTY and mad of 1/8" steel sheet
Did I say HEAVY DUTY? I was curious:loco:
Second thermo was also an option as it comes with only one
Bottle opener was an idea that I had so Amber told me to send one and they'll attach for me. (No charge for that)
Other option I had Chris add was a pull handle and cool touch handles on the damper rods
Folding table was another accessory
Ash rake and charcoal tools are accessories as well which I added. Also, another accessory was the tool rack in the back.
Guru port was one other option I added. Now there is a 3/4" threaded adapter that comes with all LSG offset pits standard for gas assist but you can also run guru fans if you add another port. You need the fan adapters from BBQGURU.com
I also had Chris add two probe holes for the Mavericks, CyberQ, DIGIq's etc.
Added the ball valve for easier clean up
Oh I almost forgot. I also added a pullout ash pan for easier clean up. Again, heavy duty 1/4" steel with handles.
I think that's all the option WHEW!!!
A few pics of the seasoning process. I started off slowly to keep it at 225-250 max to cure the paint
She holds temps like a champ all across the main chamber.:thumb:
So easy to control this thing it's not even funny.
Look at that beautiful patina after seasoning.
And I did a quick weeknight something cook in the oven. Pork butt chunks on my custom PBC skewers. I also used the PBC basket since I didn't need much fuel. I controlled the heat with the bottom intake and one of oven dampers. Nailed it at 350 with no issues. Im simply amazed.
Done in about 1 hour and absolutely delicious and tender
Still charcoal left
This is it for now guys!! Hope I was thorough enough. More to come for sure.
Thank you!!!
Last edited:
")