• working on DNS.. links may break temporarily.

Trailer smoker build

Peteg

Full Fledged Farker
Joined
Aug 24, 2008
Messages
436
Reaction score
344
Points
0
Location
Madison, WI
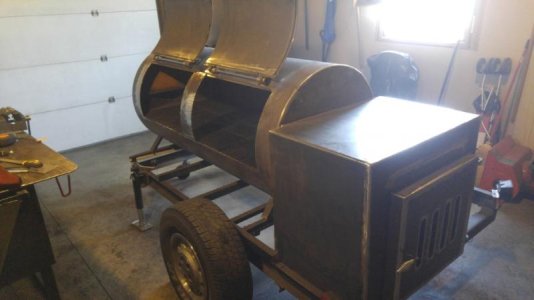
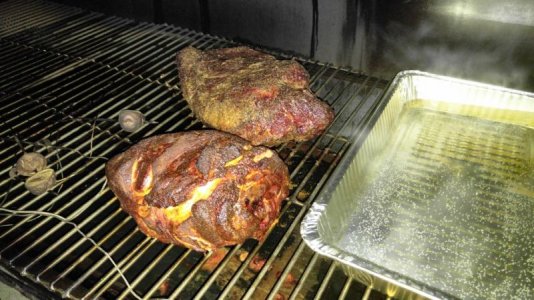
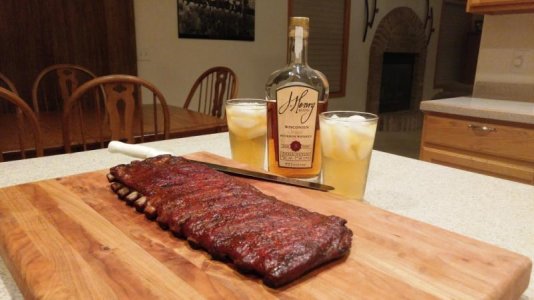
Hi all, I thought I would post some pictures of the smoker build that my friend and I recently completed. I’ve learned a heck of a lot on the forum over the years, from a lot of people. Wanted share some of the details of our build in case it would help anyone in a similar situation.
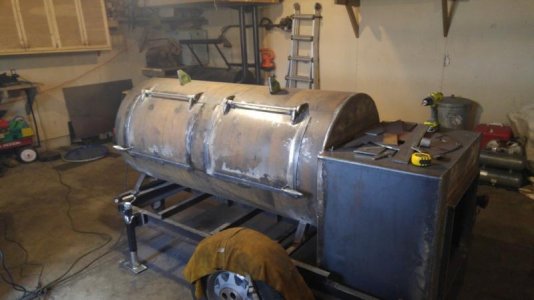
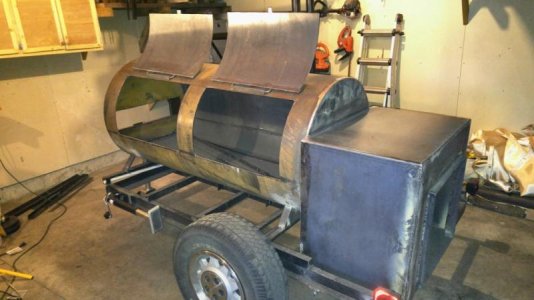
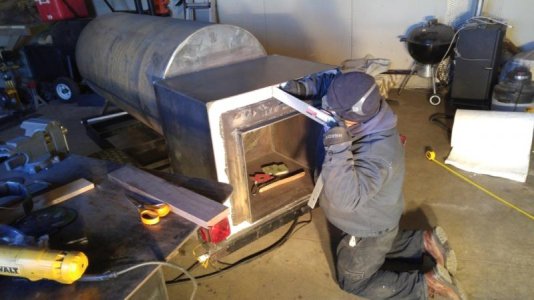
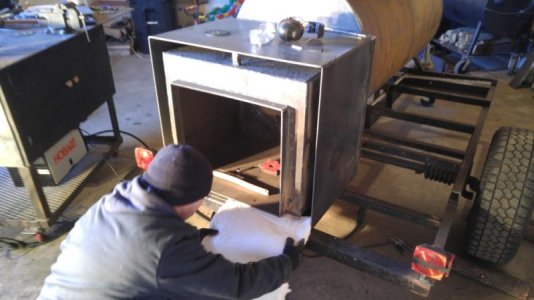
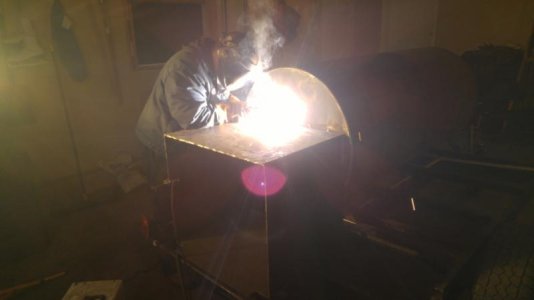
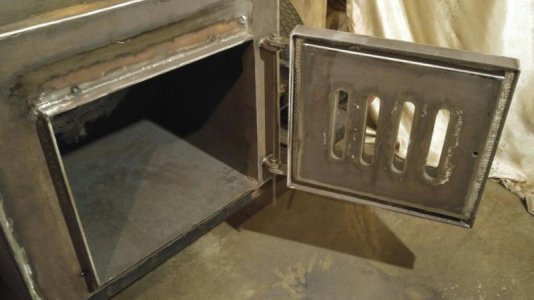
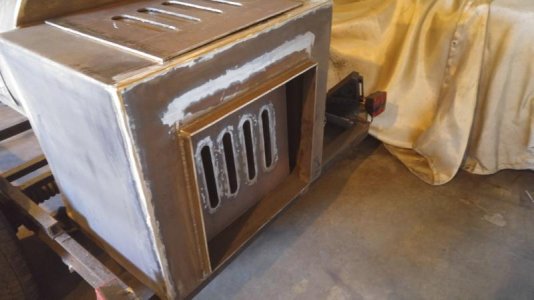
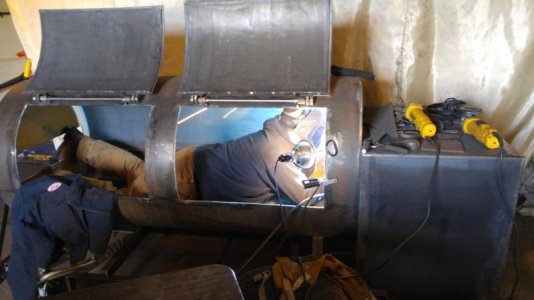
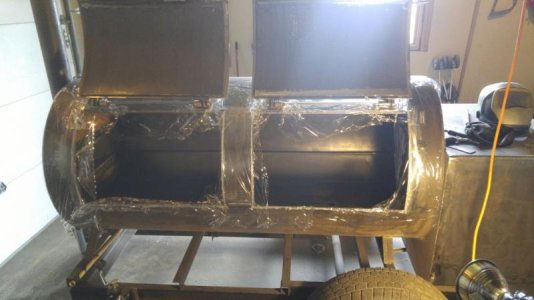
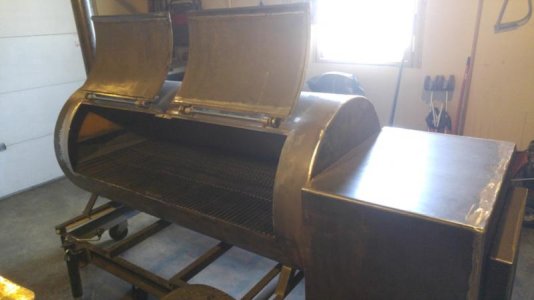
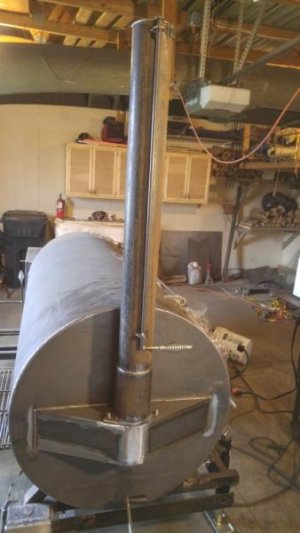
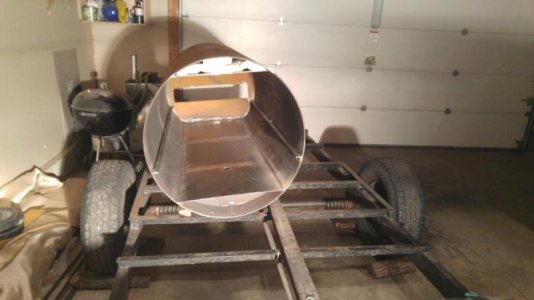
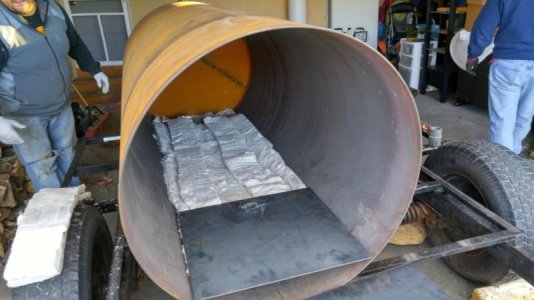
Just a few details about the project.. We wanted a whole hog smoker that we could use for contests and catering. The cooking chamber is 33.5” wide and x 72” long, with insulation on the top and bottom. The fire box is 29” wide x 25” tall and 25” long with 2” of ceramic insulation.
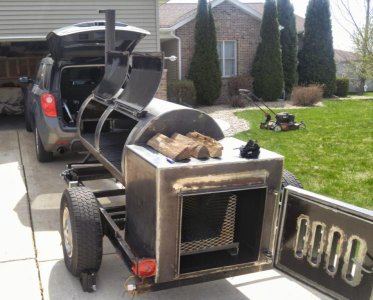
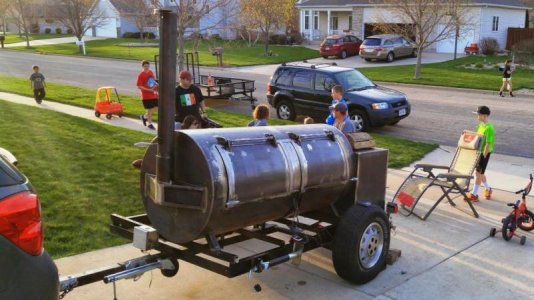
Long story short, we started this project in late November, and just fired it up yesterday, for the first time. Really happy with it so far. I’ll post pictures and comments of the process as I have time over the next few days. I hope this helps anyone looking at similar build.

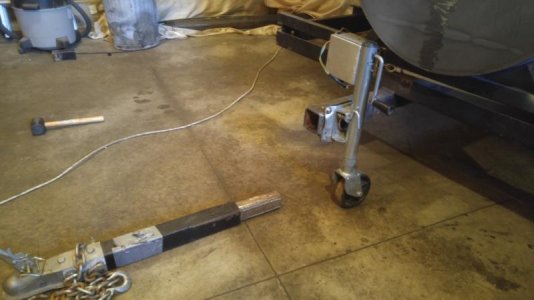
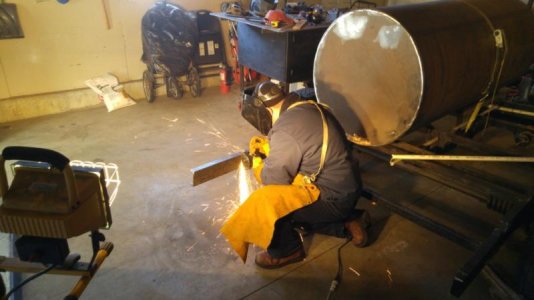
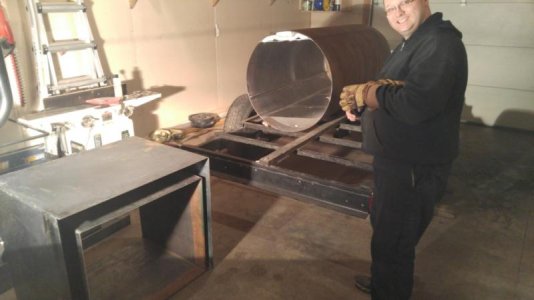
First pics are of the trailer that we found on the side of the road. Got it for $400, so we felt like we were off to a good start. We took off the boards and drove up to Green Bay to pick up the pipe, which we were able to source from one of our competition friends. He had it rolled out of 1/4 steel. After taking a couple of weeks off we laid the insulation and covered it with plates of 1/8" steel.
 

Attachments

  • 2015-09-20 10.56.55.jpg
    2015-09-20 10.56.55.jpg
    60 KB · Views: 438
  • 2016-01-24 16.11.49.jpg
    2016-01-24 16.11.49.jpg
    50.3 KB · Views: 442
  • 2016-01-02 15.56.08.jpg
    2016-01-02 15.56.08.jpg
    45.3 KB · Views: 438
  • 2016-01-02 10.09.24.jpg
    2016-01-02 10.09.24.jpg
    42.6 KB · Views: 439
  • 2015-12-26 20.09.06.jpg
    2015-12-26 20.09.06.jpg
    36.2 KB · Views: 441
  • 2015-12-26 20.08.50.jpg
    2015-12-26 20.08.50.jpg
    37 KB · Views: 442
  • 2015-11-07 15.27.53.jpg
    2015-11-07 15.27.53.jpg
    49.7 KB · Views: 439
Good looking cooker, can't wait to see the finished product. Really like the idea of the insulated cook chamber.

Matt
 
Thanks for the nice comments guys. The next pics show my friend putting the installation into the fire box. It was about -8 degrees that day, so we tried to work quickly! The condensation would drop out of our masks and freeze in little droplets on our jackets. That was pretty funny. Shortly after that we put temp hinges on and cut the doors. I cut the doors with an angle grinder (as we had cut everything up to that point). I decided that day to buy a plasma cutter, which made a huge difference in the last half of the build. After that we cut off the tongue and added supports, in order to decrease the footprint when it’s in the garage. I cut out the permanent hinges, and added torsion springs to assist with the lifting of the doors.
 

Attachments

  • 2016-02-21 15.07.45.jpg
    2016-02-21 15.07.45.jpg
    39.9 KB · Views: 407
  • 2016-02-11 21.20.34-2.jpg
    2016-02-11 21.20.34-2.jpg
    53 KB · Views: 408
  • 2016-01-31 16.01.29.jpg
    2016-01-31 16.01.29.jpg
    42.1 KB · Views: 407
  • 2016-01-24 16.11.49.jpg
    2016-01-24 16.11.49.jpg
    50.3 KB · Views: 406
  • 2016-01-22-3.jpg
    2016-01-22-3.jpg
    50.7 KB · Views: 408
  • 2016-01-22-2.jpg
    2016-01-22-2.jpg
    47.3 KB · Views: 412
  • 2016-01-22.jpg
    2016-01-22.jpg
    19.5 KB · Views: 405
I will be interested in seeing how those torsion spring designs work for the doors
 
Nice job!! Thanks for sharing.
 
Here are a few more pics of the build. In regards to Nate’s comment about the springs – I’d say they they reduce the weight of the door by about 20% – 30%. The pictures show my friend (Jeff) welding the throat damper to a rod which we hinged to the back plate. We wanted to be able to close off the fire box from the chamber, just to have one more way to control temperatures. We can open or close the opening with a lever on the back of the cooker. The next pics show the firebox door, which is insulated with two inches of insulation. For the hinges, we welded two pieces of ¼” steel together, rather than using the ½” that we used for the chamber doors. That’s all for now I’ll post more later. Thanks for the nice comments!
Pete
 

Attachments

  • 2016-04-10 16.13.06.jpg
    2016-04-10 16.13.06.jpg
    34.8 KB · Views: 293
  • 2016-03-30 22.04.58.jpg
    2016-03-30 22.04.58.jpg
    42.6 KB · Views: 291
  • 2016-03-30 22.03.23.jpg
    2016-03-30 22.03.23.jpg
    40.2 KB · Views: 291
  • 2016-03-27 18.05.21.jpg
    2016-03-27 18.05.21.jpg
    31.7 KB · Views: 291
  • 2016-03-20 16.31.45.jpg
    2016-03-20 16.31.45.jpg
    41.7 KB · Views: 291
  • 2016-03-20 14.04.50.jpg
    2016-03-20 14.04.50.jpg
    42.6 KB · Views: 292
Here are the last pics of the trailer build before the first cook. We made three stainless racks for the main chamber, and then finished the stack, which is removable and secured by nuts. The last step was to cut out the out the center column and make a mount for it on the inside of the chamber. It attaches with wing nuts now. We applied RTV to the doors and let it dry overnight. The next morning (last Saturday) the day of the first cook, I woke up early and made a charcoal basket and grate holder. We took it the car wash and gave it good cleaning and then lit the first fire. Needless to say, we were pretty stoked to fire it up!

Pete

[FONT=&quot][/FONT]
 

Attachments

  • 2016-04-22 11.49.36.jpg
    2016-04-22 11.49.36.jpg
    39.7 KB · Views: 240
  • 2016-04-22 11.43.38.jpg
    2016-04-22 11.43.38.jpg
    42.4 KB · Views: 241
  • 2016-04-17 15.17.08.jpg
    2016-04-17 15.17.08.jpg
    33.7 KB · Views: 241
  • 2016-04-17 15.16.37.jpg
    2016-04-17 15.16.37.jpg
    30.8 KB · Views: 241
  • 2016-04-22 16.21.26.jpg
    2016-04-22 16.21.26.jpg
    29.4 KB · Views: 242
We threw on a few racks of ribs, a pork shoulder and brisket for the first cook. We set probes all throughout the cooker and nervously watched each temp gauge for the first hour so.. It came up to temp (275) within 40 minutes and maintained temps within 20 degrees from left to right for the whole cook. Really couldn’t believe how well it cooked. That rack of ribs made all of long hours and late nights worthwhile! Man it was good. So was the whiskey. We still have a fair amount of work to do over the next month or so, to polish it up, but at least we know it cooks really well. Can’t wait to fire it up again. I’ll try and post more pics as we make progress over the next few weeks.

Pete
 

Attachments

  • 0423161358c~2.jpg
    0423161358c~2.jpg
    71 KB · Views: 237
  • 0423161909b~2.jpg
    0423161909b~2.jpg
    68.4 KB · Views: 236
  • 0423162349a.jpg
    0423162349a.jpg
    81 KB · Views: 237
  • 0423162304a.jpg
    0423162304a.jpg
    47.8 KB · Views: 239
Back
Top